DIY Holiday Gift- Wood Frame Image


Last year when we were building our garden beds there was a lot of left over wood. It just so happened I realized the pieces we cut were almost the same size as an 8x10 frame. So I got out the wood sander out, some stain, and I am super happy to say I love this way of displaying images! Easy to make and a wonderful gift to give this holiday season. Not to mention an inexpensive gift to make!
STEP 1- order your prints! Most drug stores still have a printing machine available. It’s so crazy we don’t print pictures anymore! You can also order prints from places like
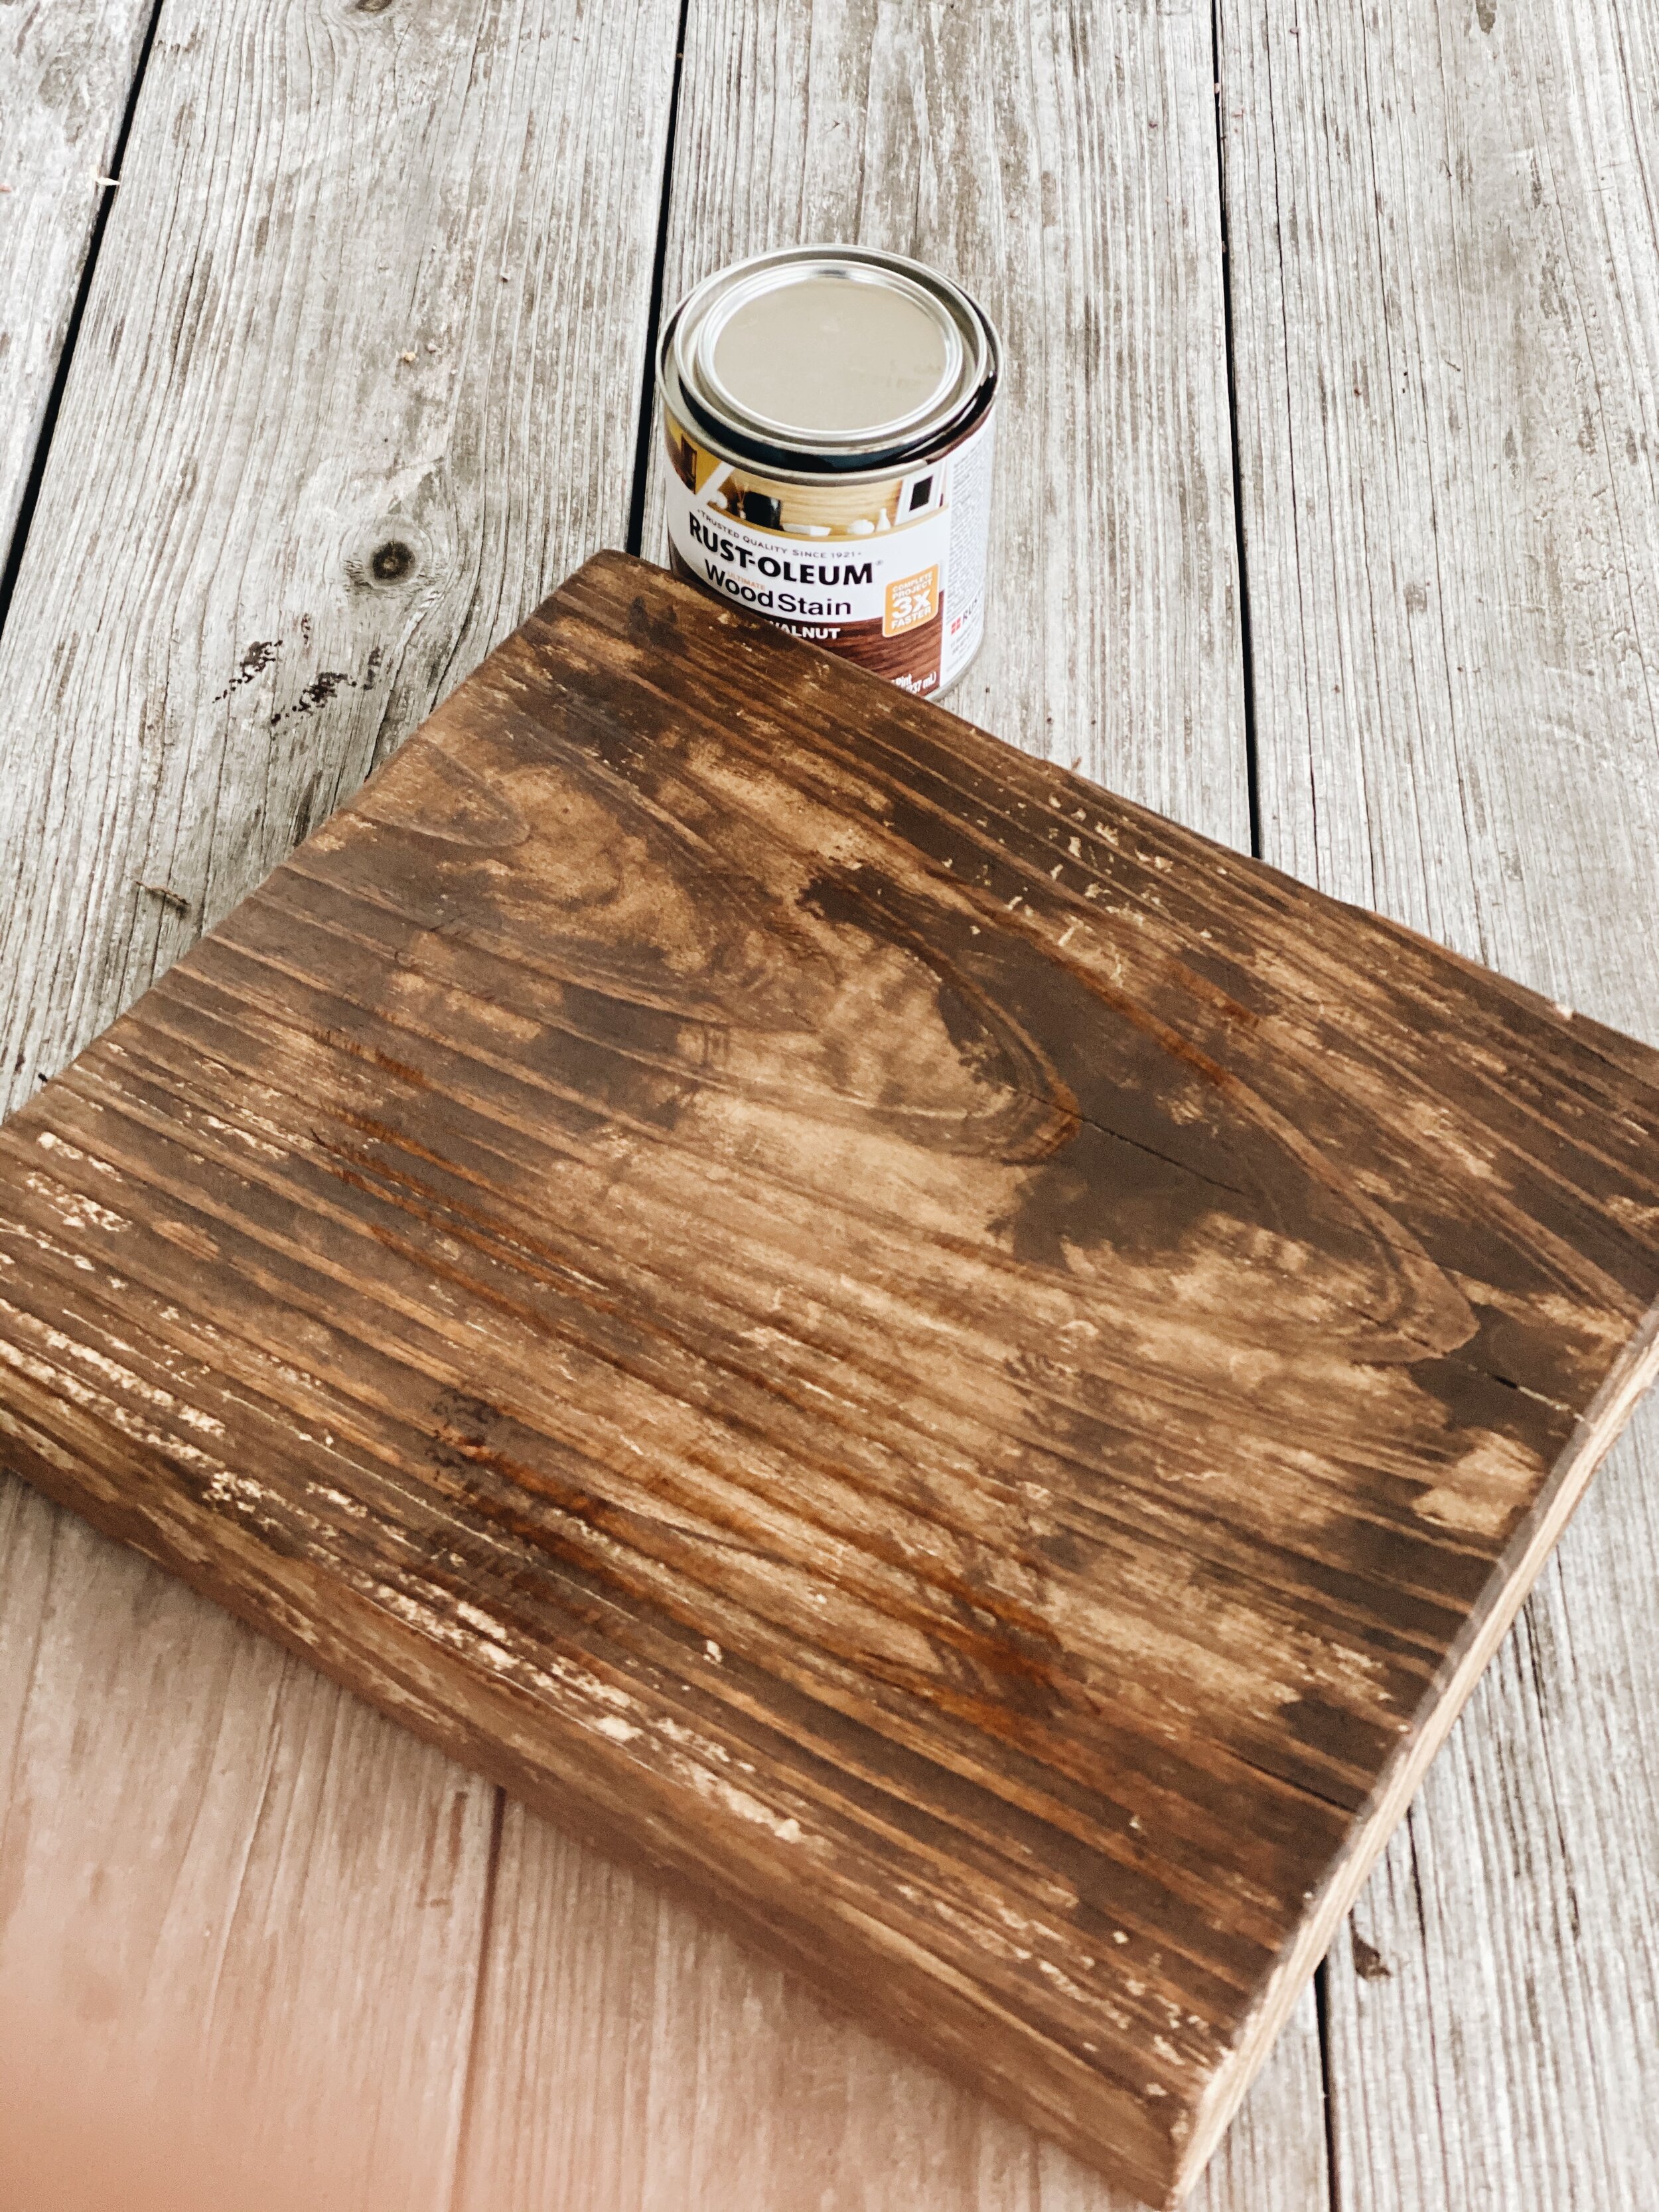
Step 2 Cut your pieces and then sand. Cut your boards so that they will just stick out past your image.
So for the 8x10 picture this was a 9 1/2” by 8 foot board that is 1 1/2 inches thick. It costs about $8-10 for an 8 foot board which means you can make 8 frames for basically $1 each.

You will need a sander and sand paper! I use a sander similar to this one! CLICK IMAGE

I use sand paper 150 grits like this one! CLICK HERE
Then sand, sand sand. I also sand around around all edges and sides., The smoother the better!
STEP #3
Once sanded down you are ready to stain it! I prefer a dark walnut stain but you can honesty use no stain at all
If you start off with some good barn wood it will have beautiful color and you wown’t need anything, because it will be beautiful already!
You want to barely stain the wood. To do this I take an old rag or paper towel and dip it in the stain. Then rub it all on the wood to ensure it is evenly coated. Go light on the stiain. You don’t want to soak the wood. LET IT DRY

STEP 4
Sand again! This will help smooth it out once more and help the stain settle in and blend even better!
STEP 5
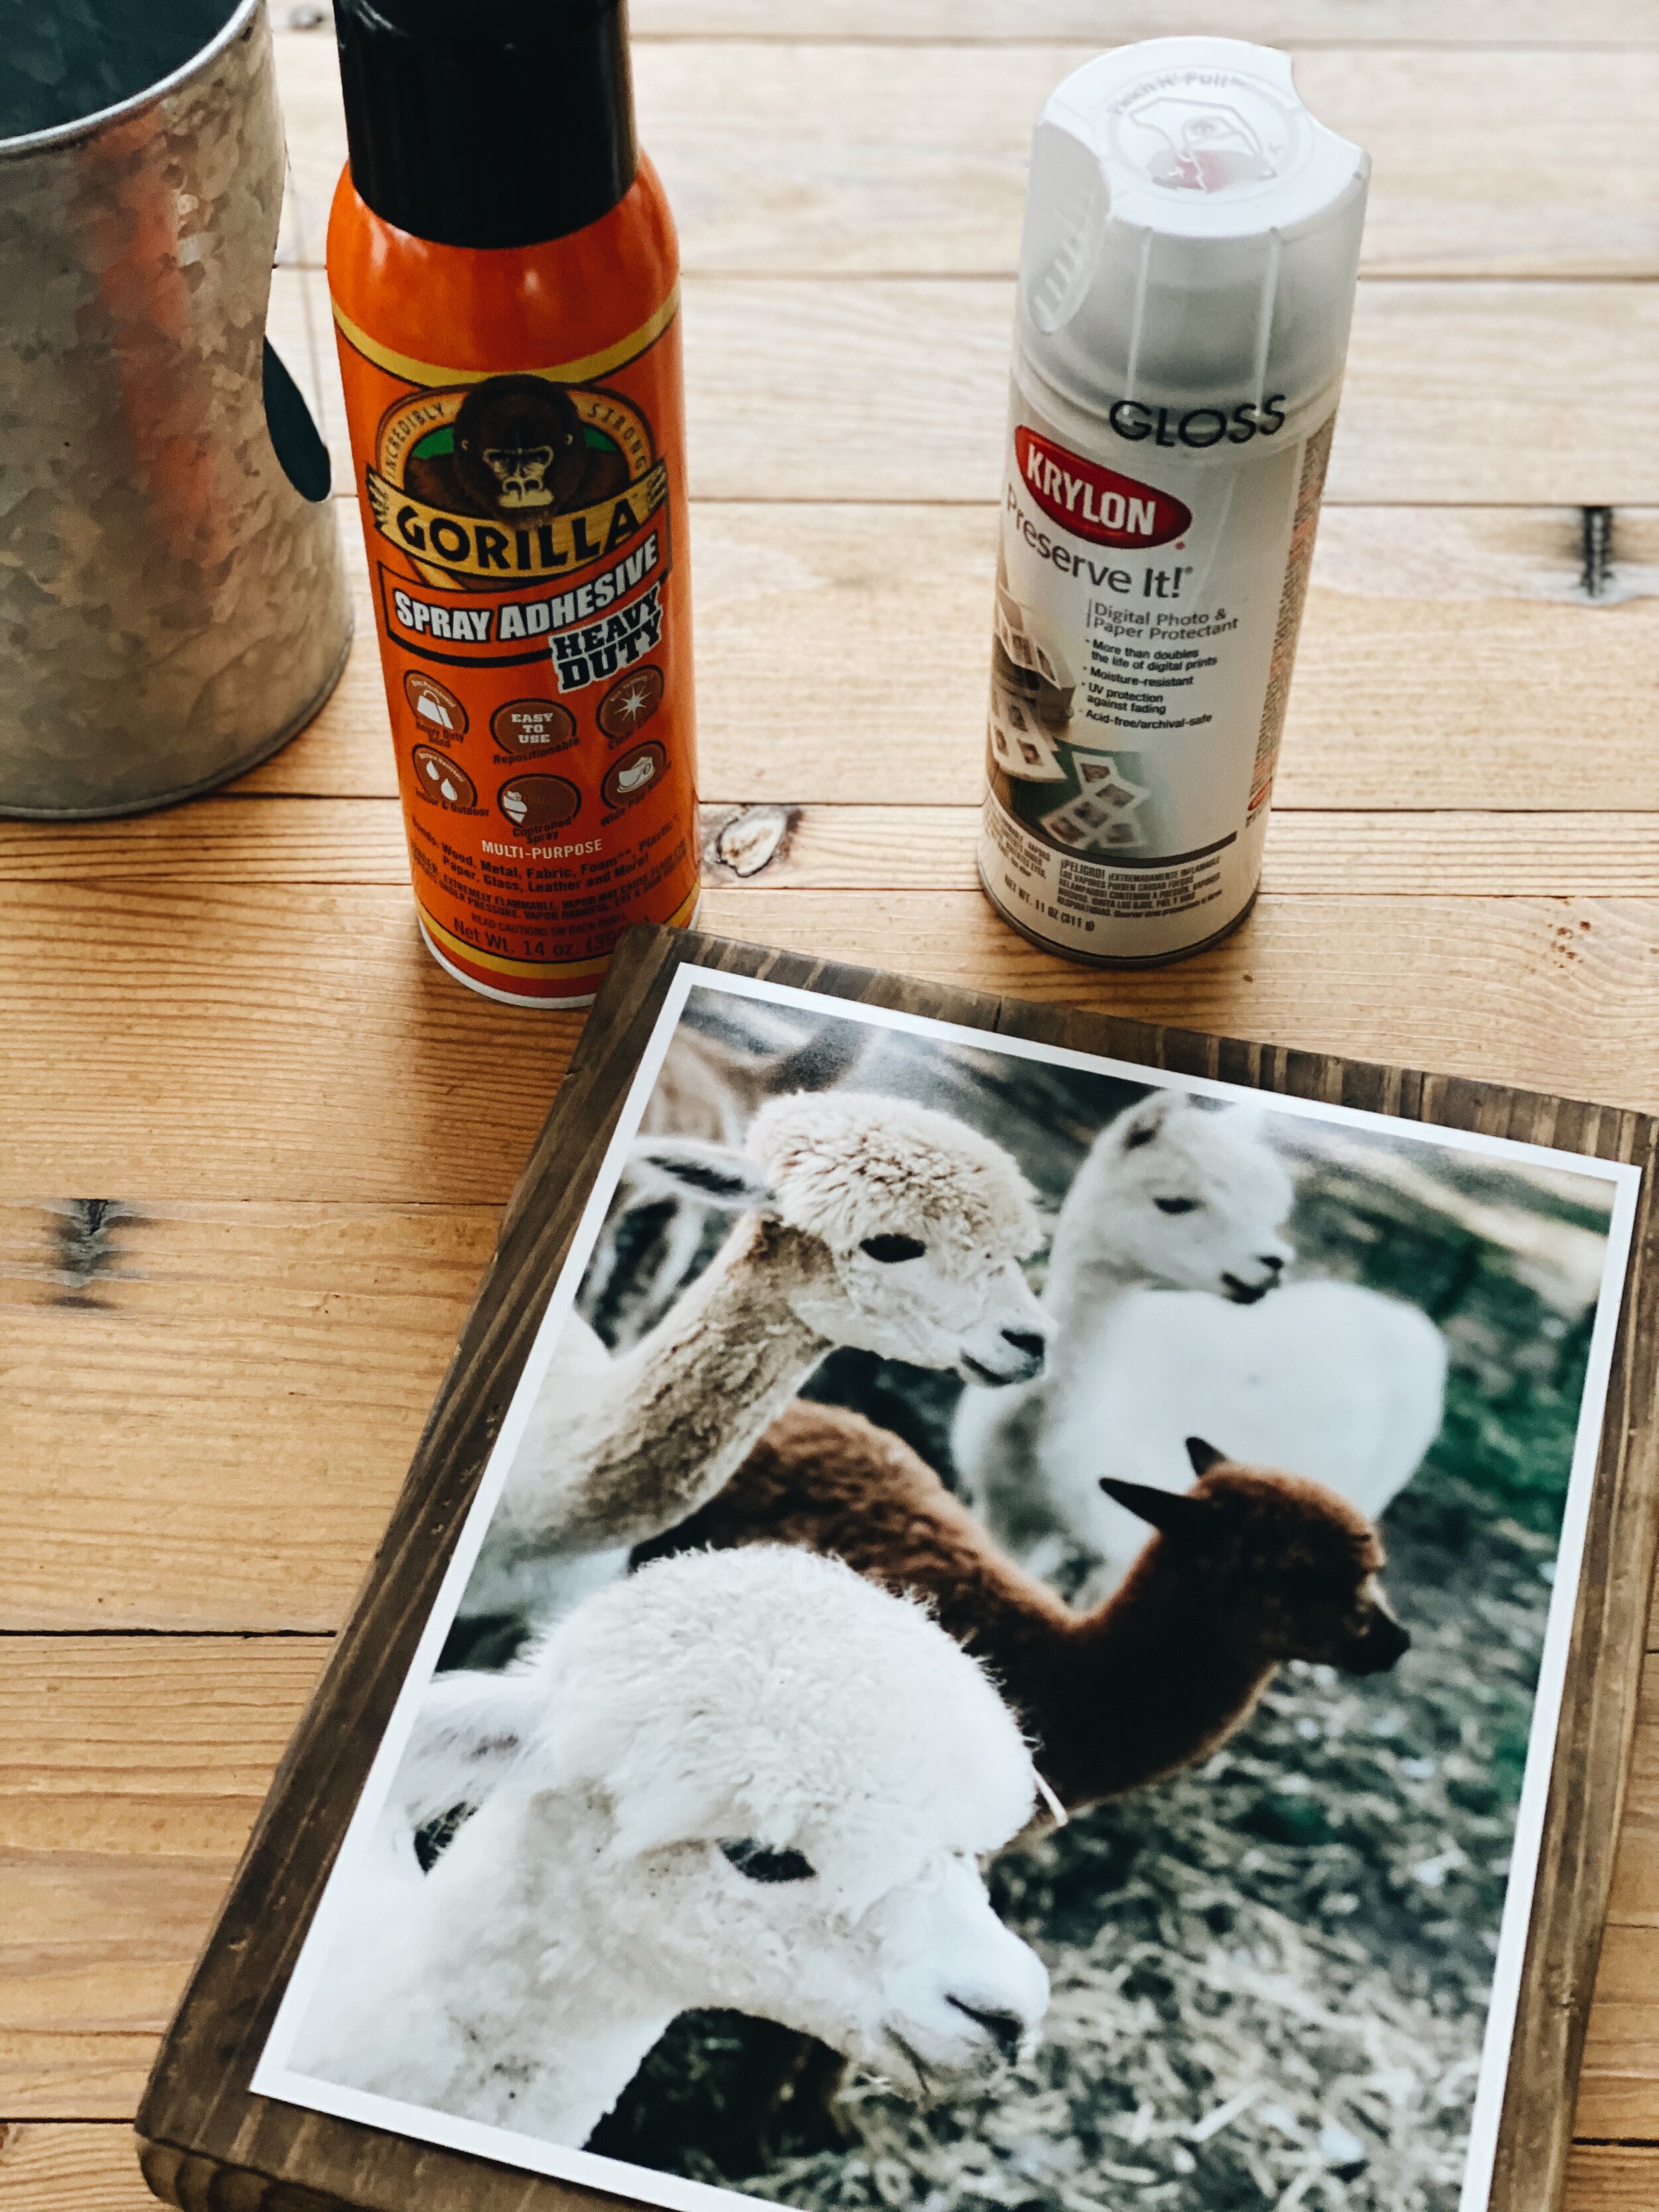
Glue your picture to the frame using a gorilla glue or other permanent glue. Make sure you place it as straight as possible on the frame. Let it dry.
Once dry you are ready to seal your image. I use a photo sealant which helps preserve the image onto the wood.
STEP 6- Display your image!
Since the wood is thick it is able to stand up by itself which is so awesome! If you however want to hang it, just place two small on the back and tie a string across to each one. Voila, now you can hang it! Easy!


PIN FOR LATER
