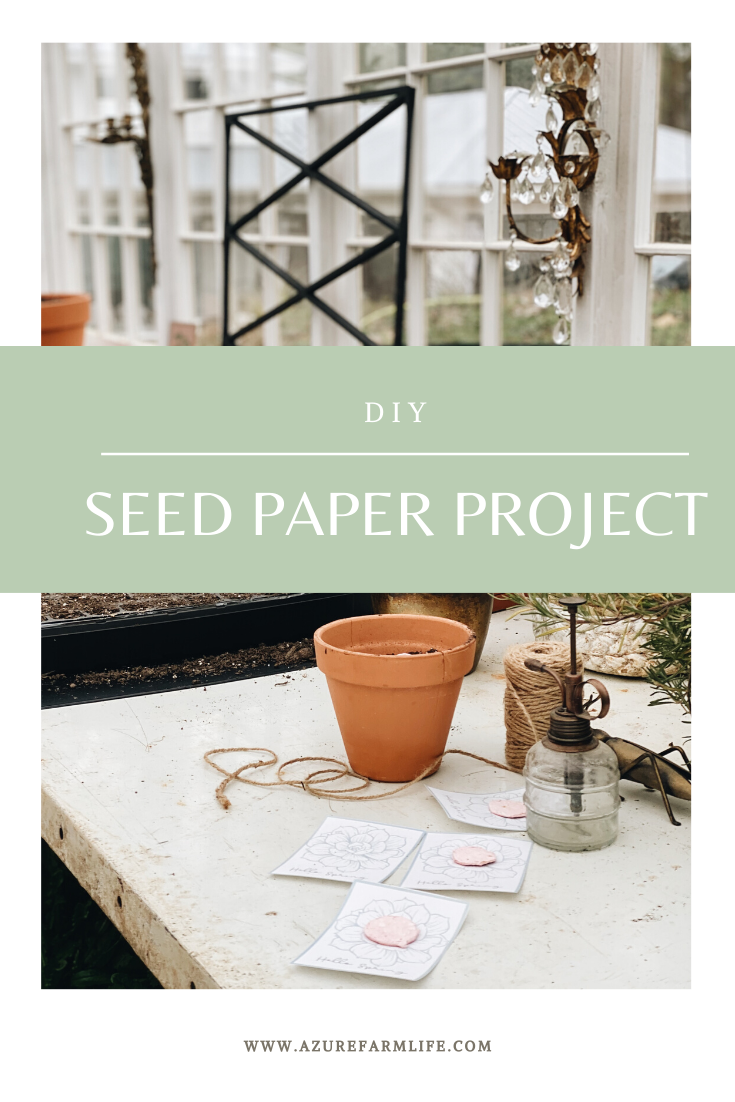
DIY seed paper project
As you plan for the upcoming gardening season here’s a fun project you can do with the whole family! Makes a great little gift to send with a note to someone you care about. It’s a great way to welcome spring!
I’m not even gonna lie, I attempted this last year and it did not go as planned. It went a bit better this year but i’m still not 100% happy with the result! However, i do think it’s cute and I hope it’ something you enjoy making and using!
What is it? It’s basically paper that has been intertwined with seeds and dried! You take the the completed piece and place it in dirt and water it! The paper will compost into the soil and the seeds will then grow! It’s a wonderful concept and there are so any ways to do it. I’ll share what i did and you decide it that’s the best method for you!
SUPPLIES NEEDED
cardstock paper ( color of your choice. I did ivory and pink)
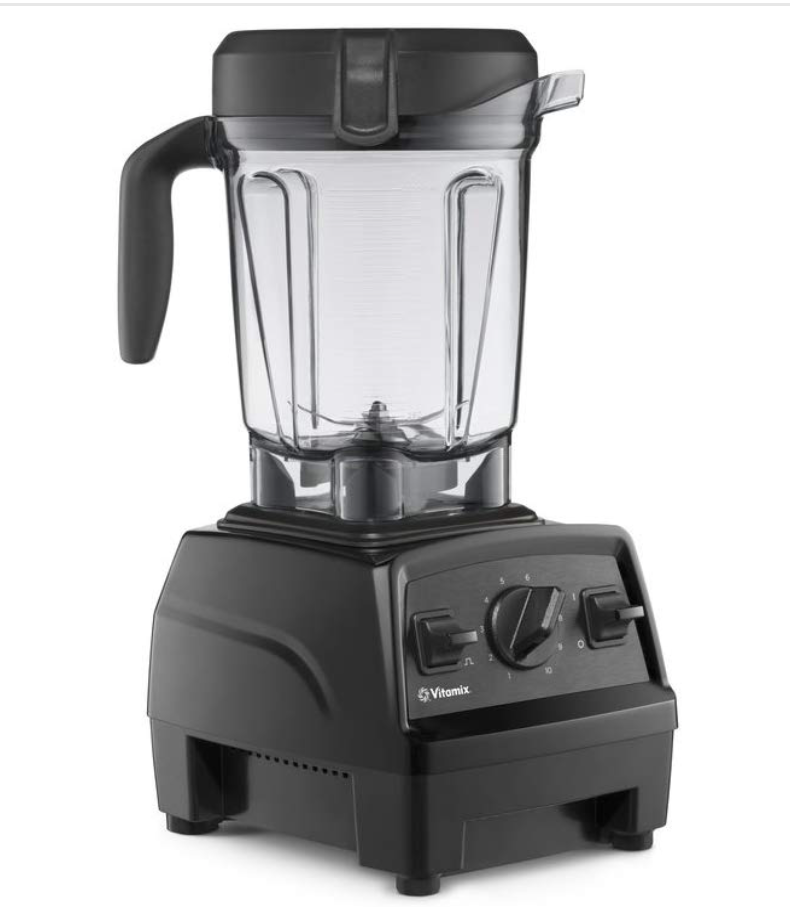
High powered blender
Scissors
Strainer and splatter screen
Towels and/or paper towels.
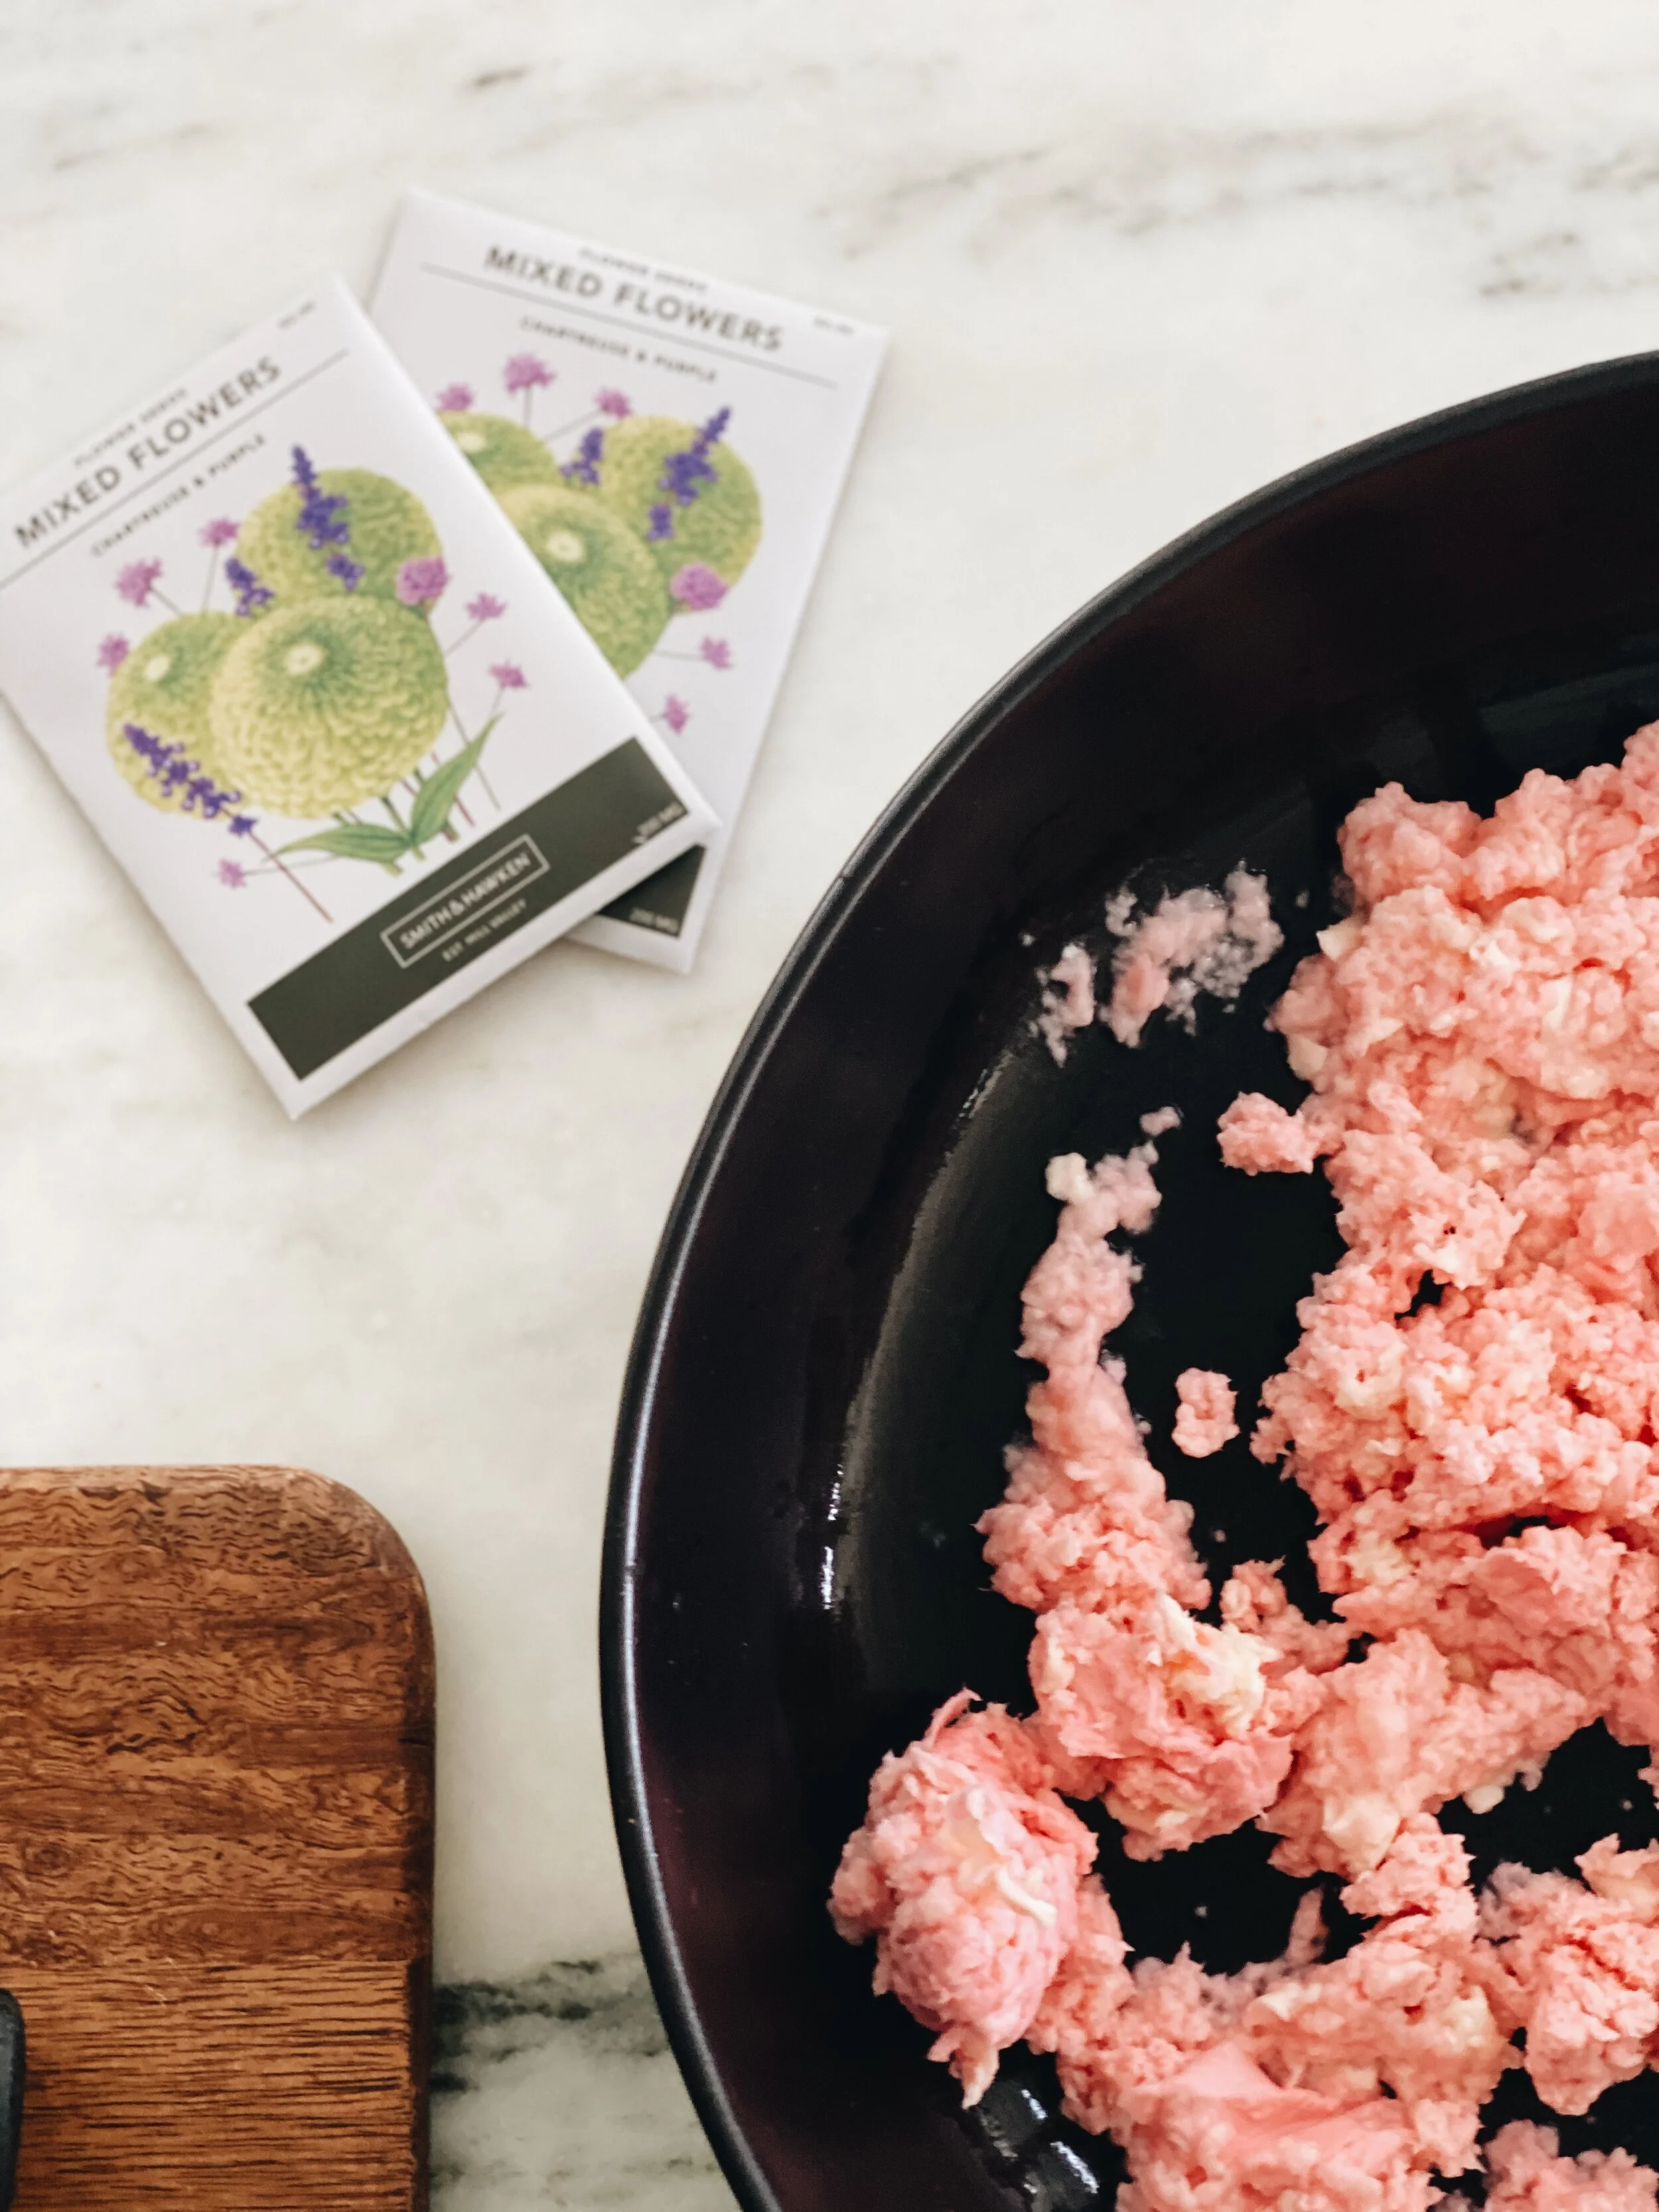
mixed flower/ wildflower seeds ( 3-4 packs)


DIRECTIONS
Chop up 10-15 pieces of paper in your desired color choice. you can vary the sizes of the pieces but tiny is best.
Soak overnight
Place paper in blender and blend until it is a pulp.
Remove from blender and strain water out through a strainer
Place in bowl and add seeds. Mix seeds in well. You’ll be able to see the seeds mixed with the paper so add enough to where they are visible. This will ensure you get enough per paper to produce flowers when planted.
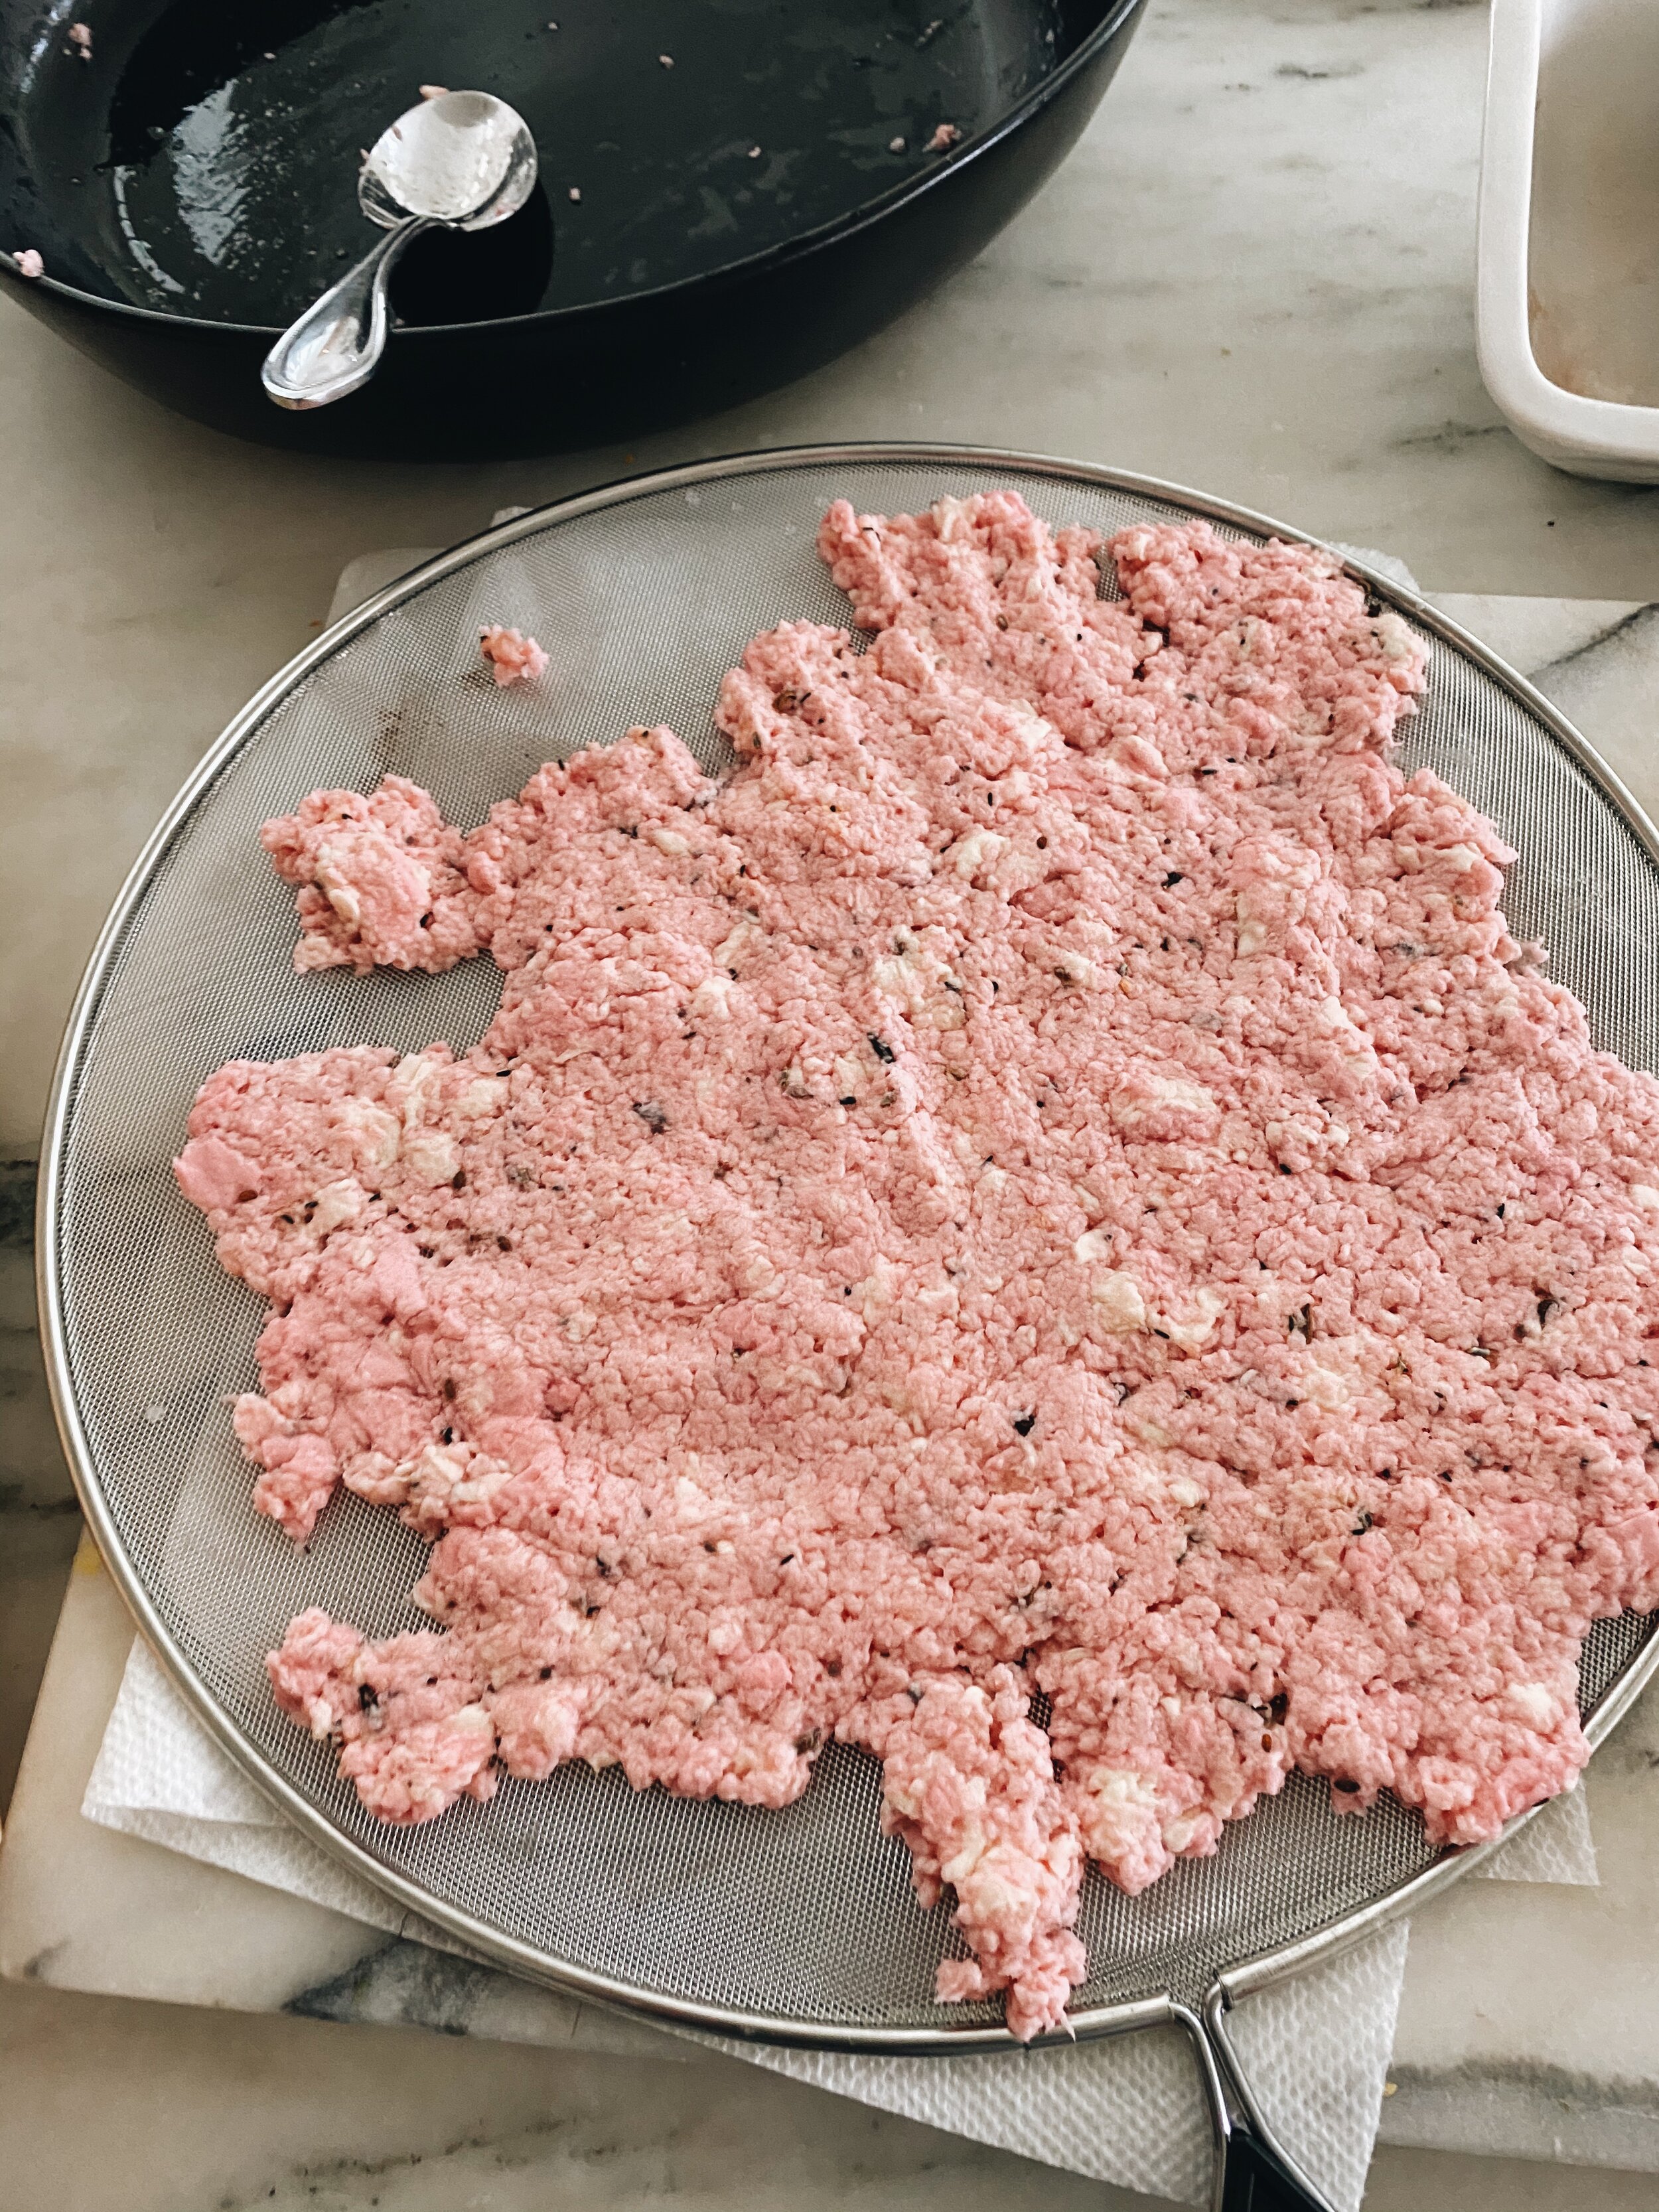
Next spread the mixture out over the splatter pan. Press so the mixture is a thin layer all the way around. As you press it will expel water so place towels or paper towel below it. The key is to spread it as thin and evenly as possible and squeeze the water out. Replace towel so there is something dry under it to absorb the water.
Let it sit there and every few hours change out the towel or paper towel underneath.
Let it dry for 24 hours until the paper is fully dry!
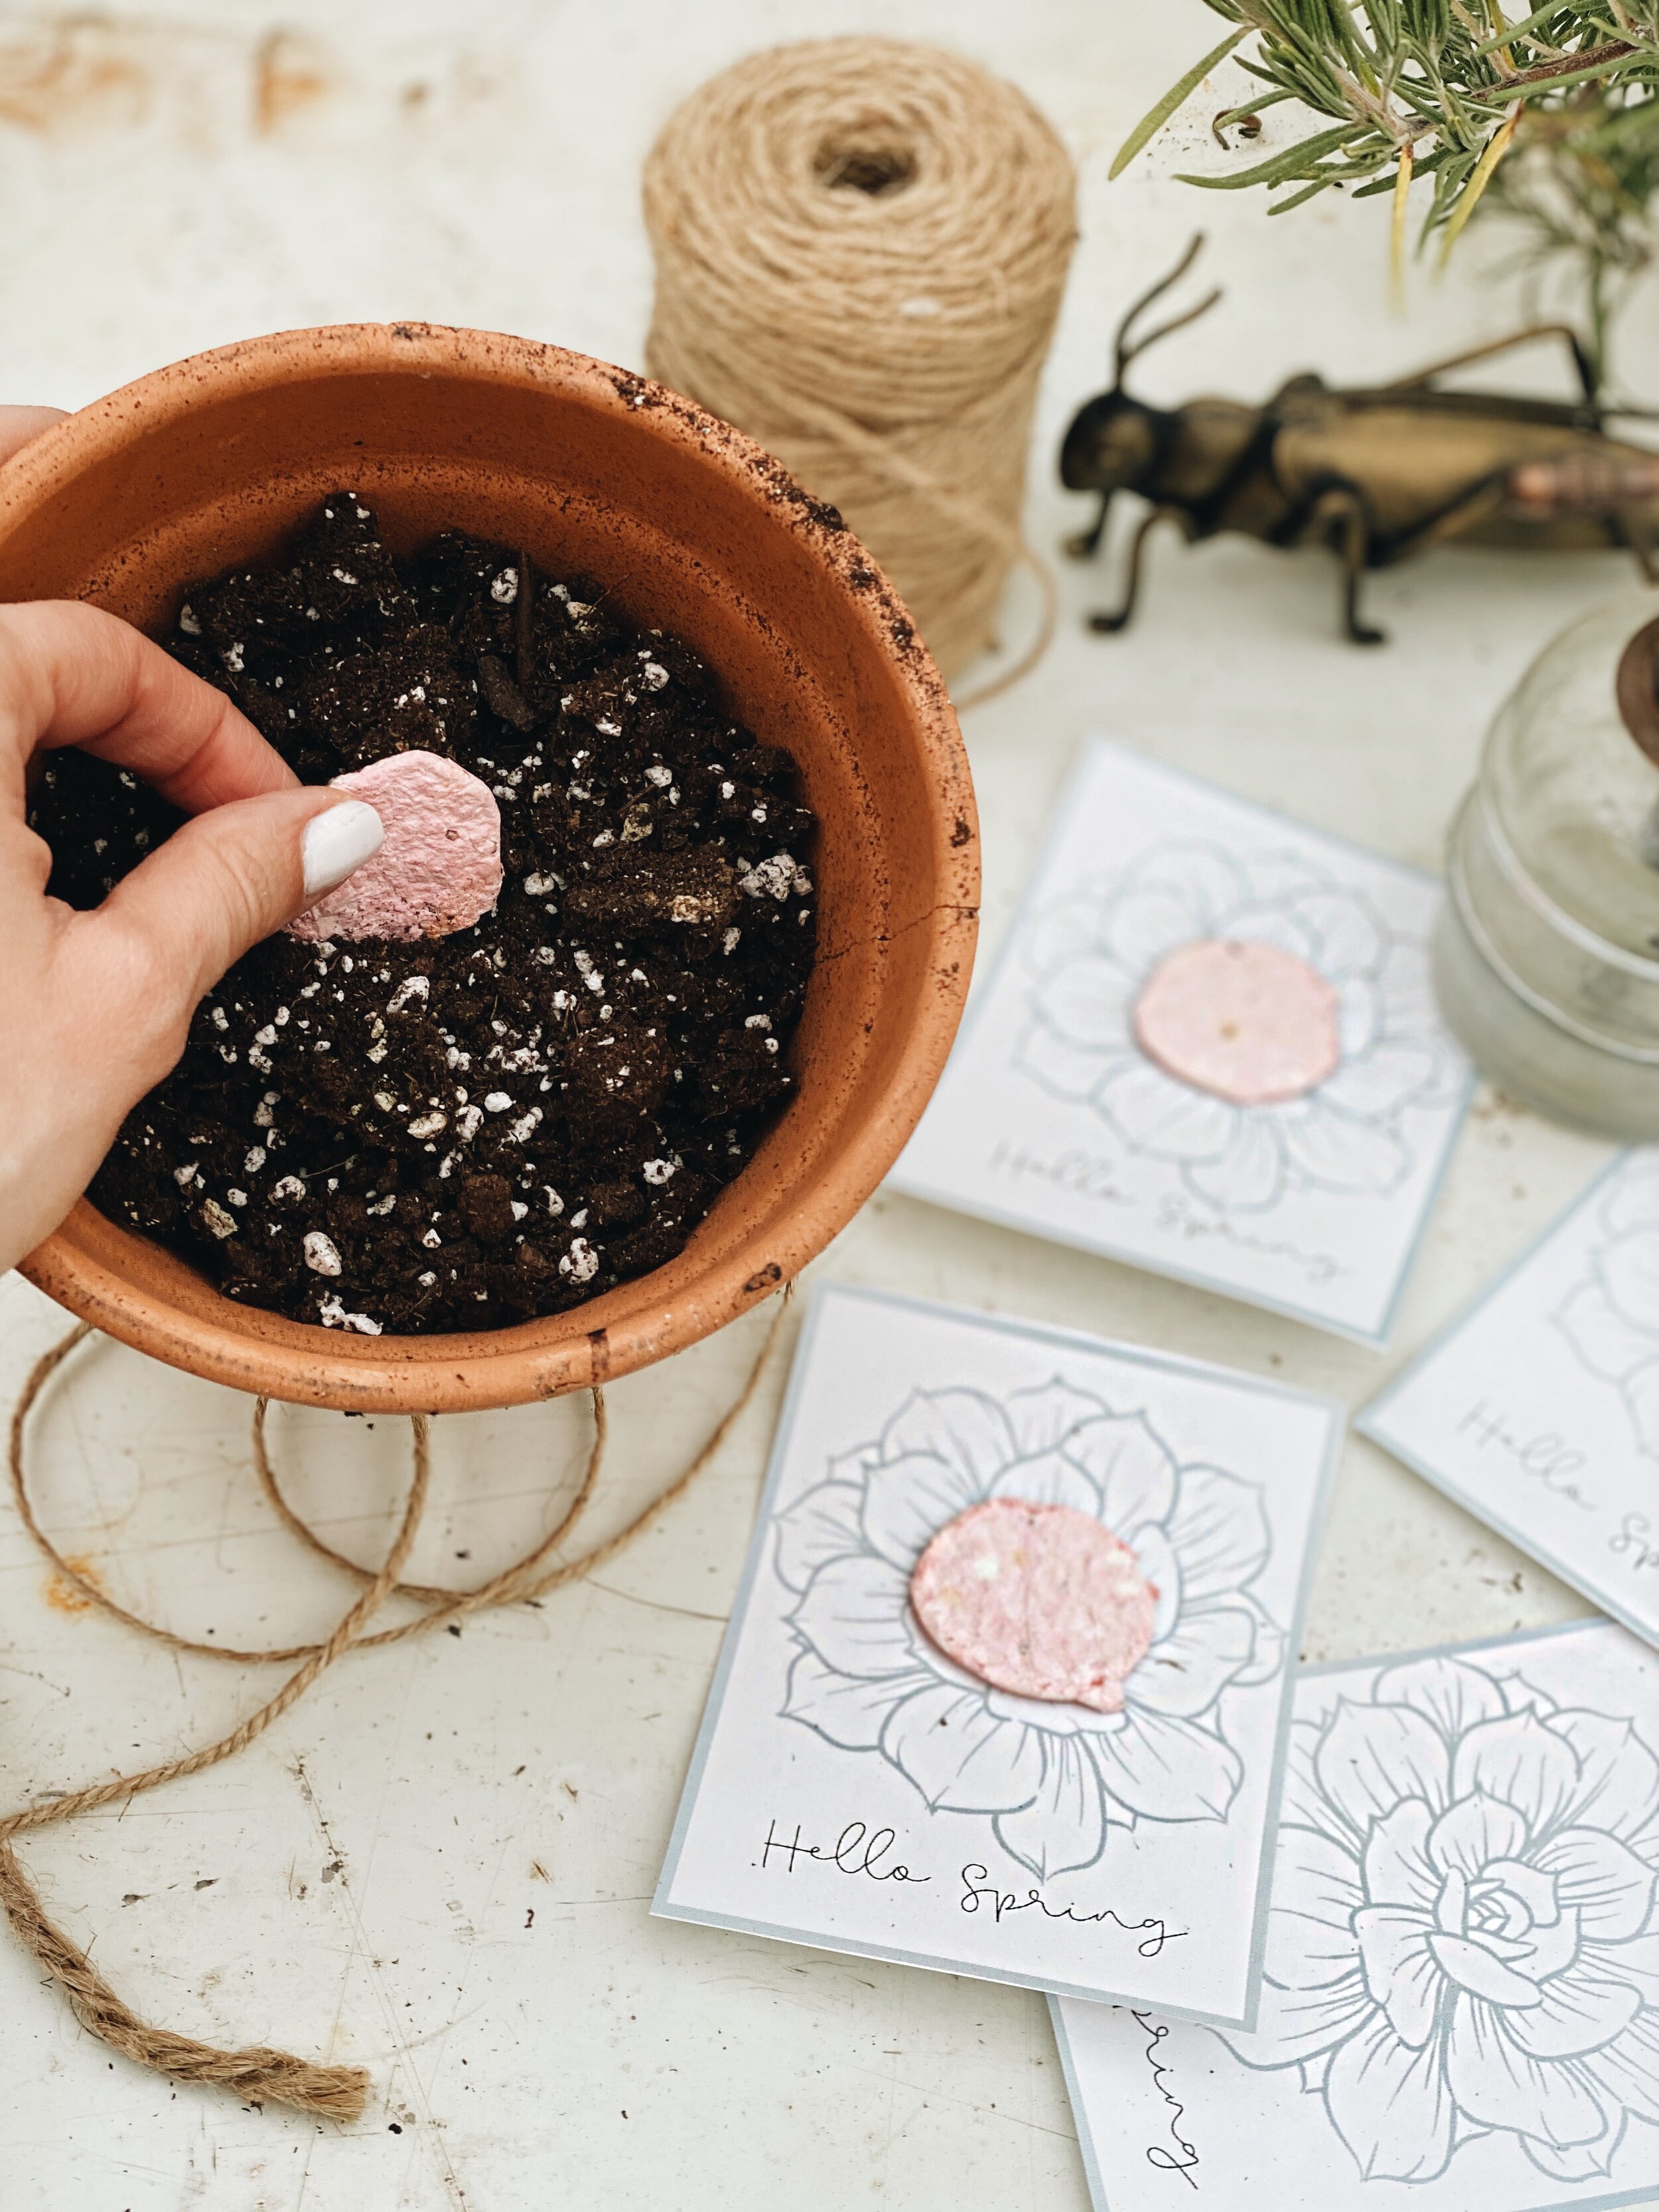
Now you can cut out whatever shape you like! You can trace a cookie cutter to make fancy shapes or i just did circles that I then placed on the FREE printable.
When planting simply place disk in soil and water. Place in a sunny spot and watch it grow!


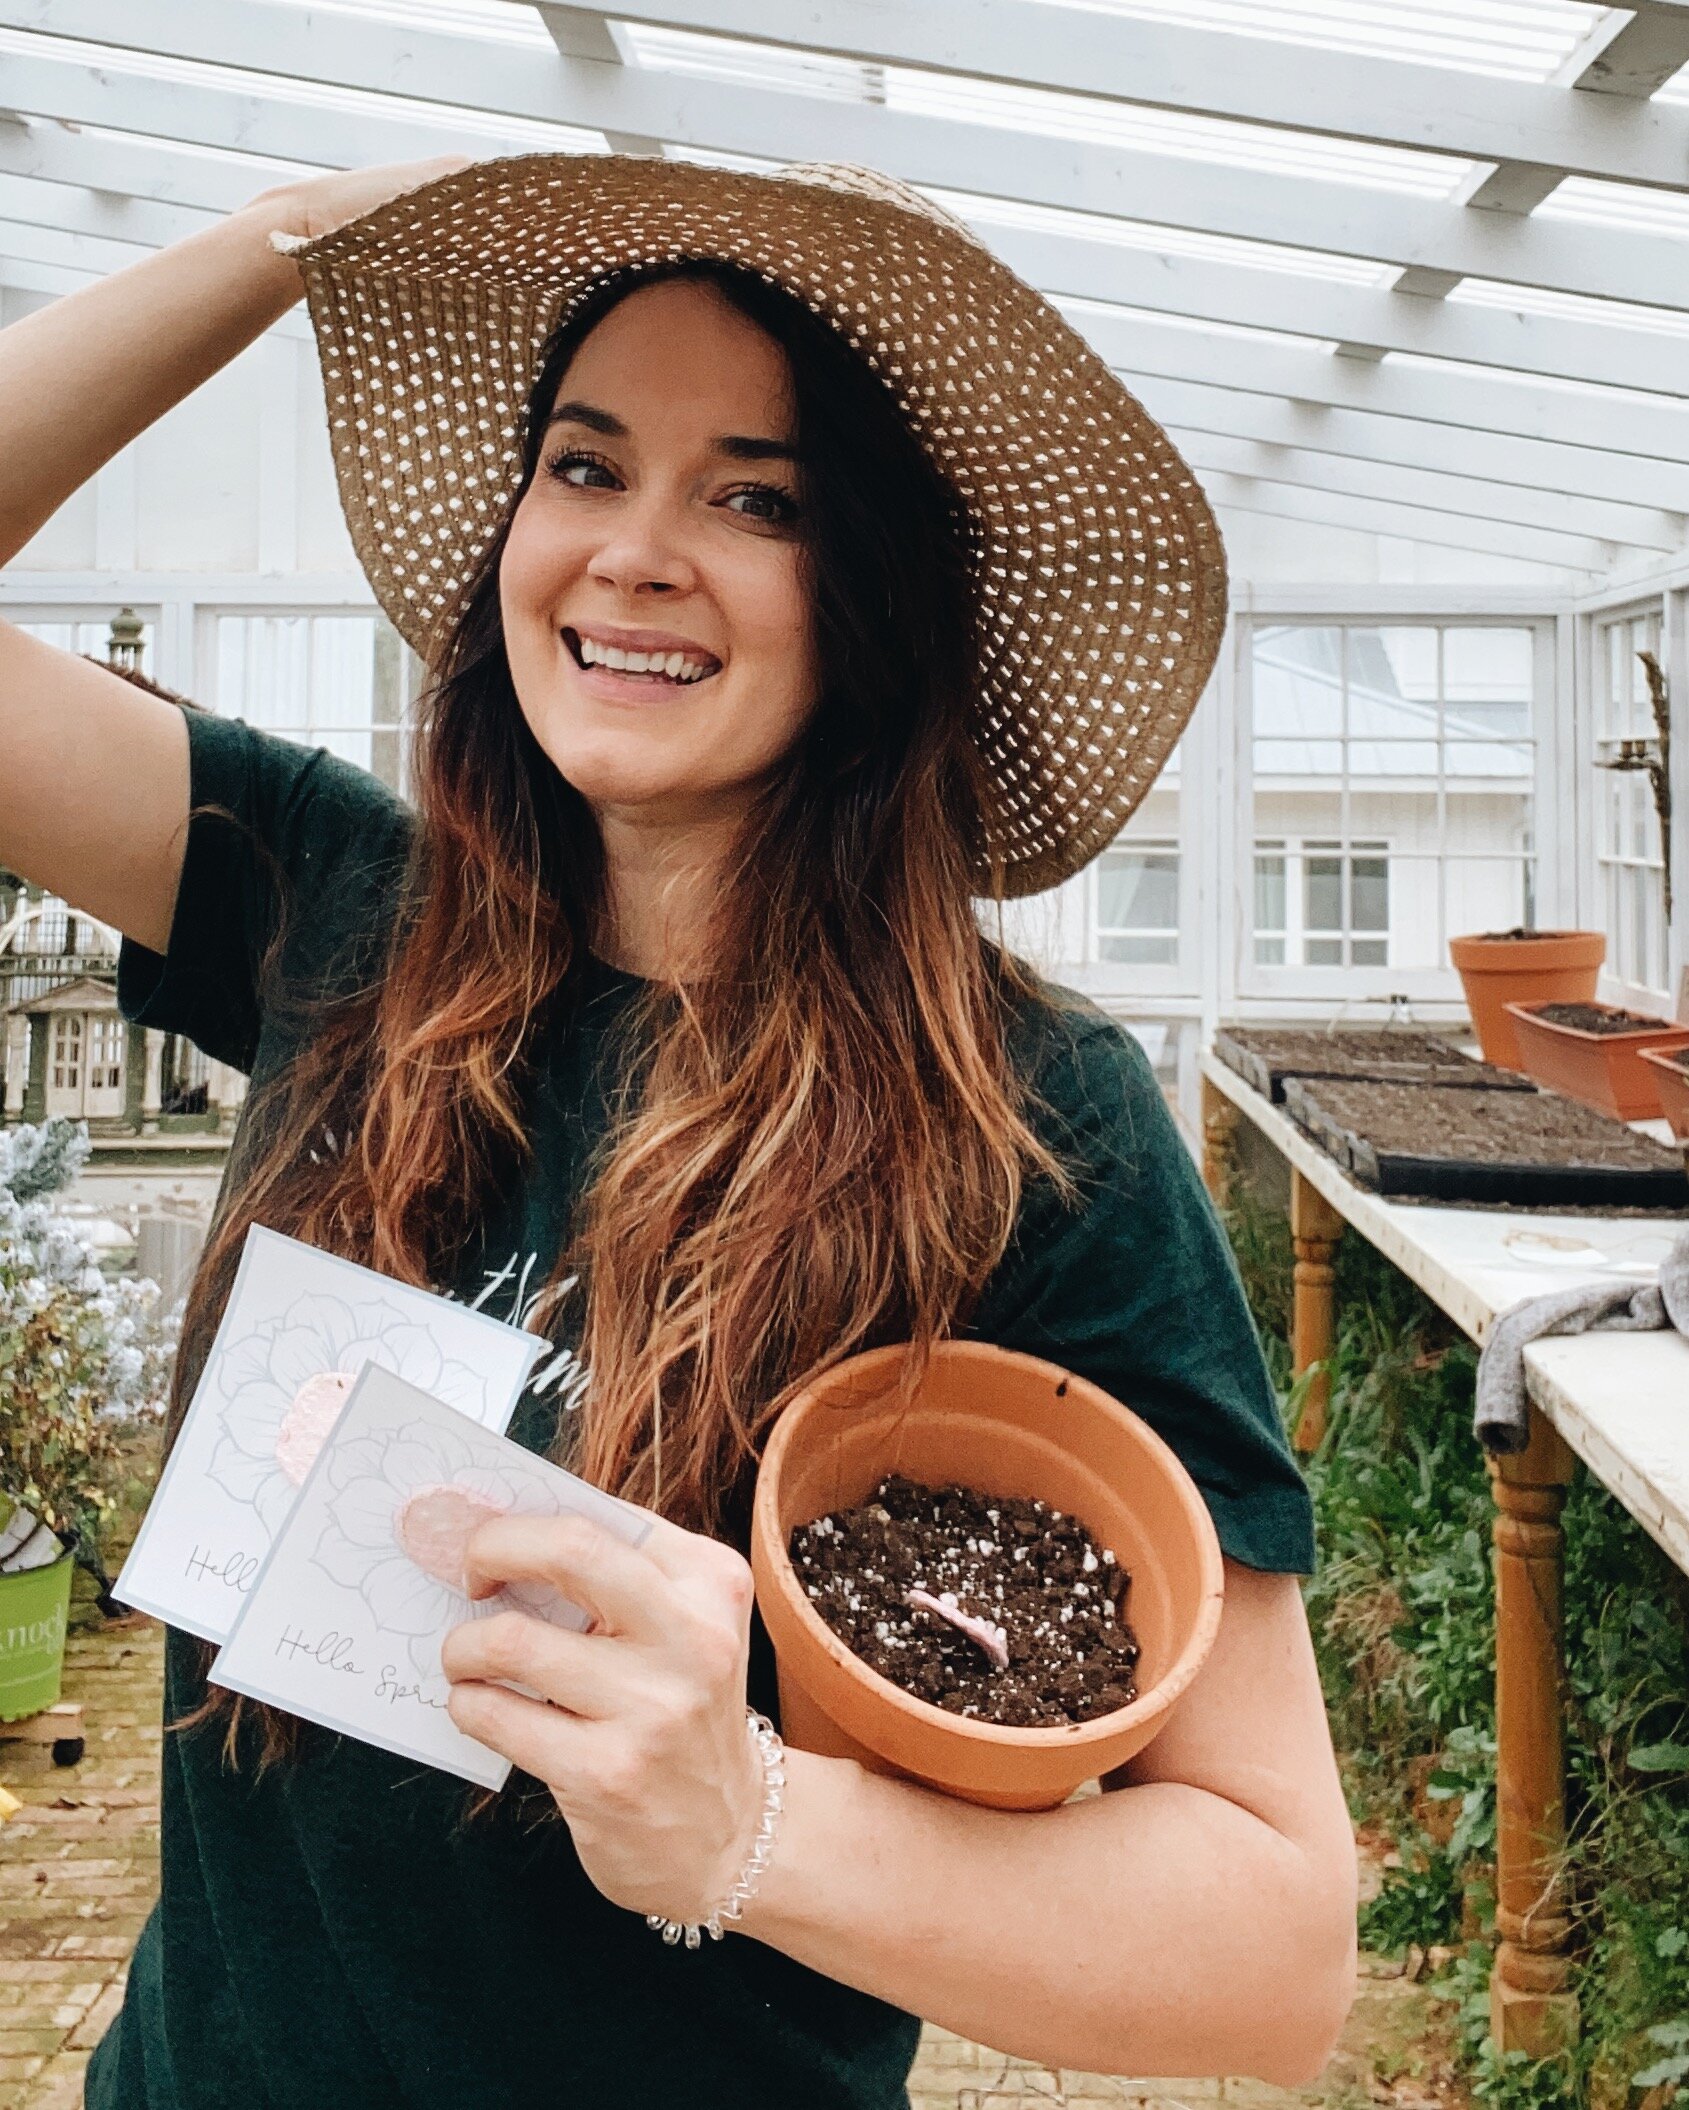


Send this to someone as a gift in the mail and it will be a fun surprise!

FREE PRINTABLE ( for best results print on cardstock) Just drag off screen to save and print. Made to print on 8.5x11 paper size

GET ITEMS FROM THIS POST- a few of these links are affiliate links and purchasing through them really helps support our farm. Thank you for your continued support!

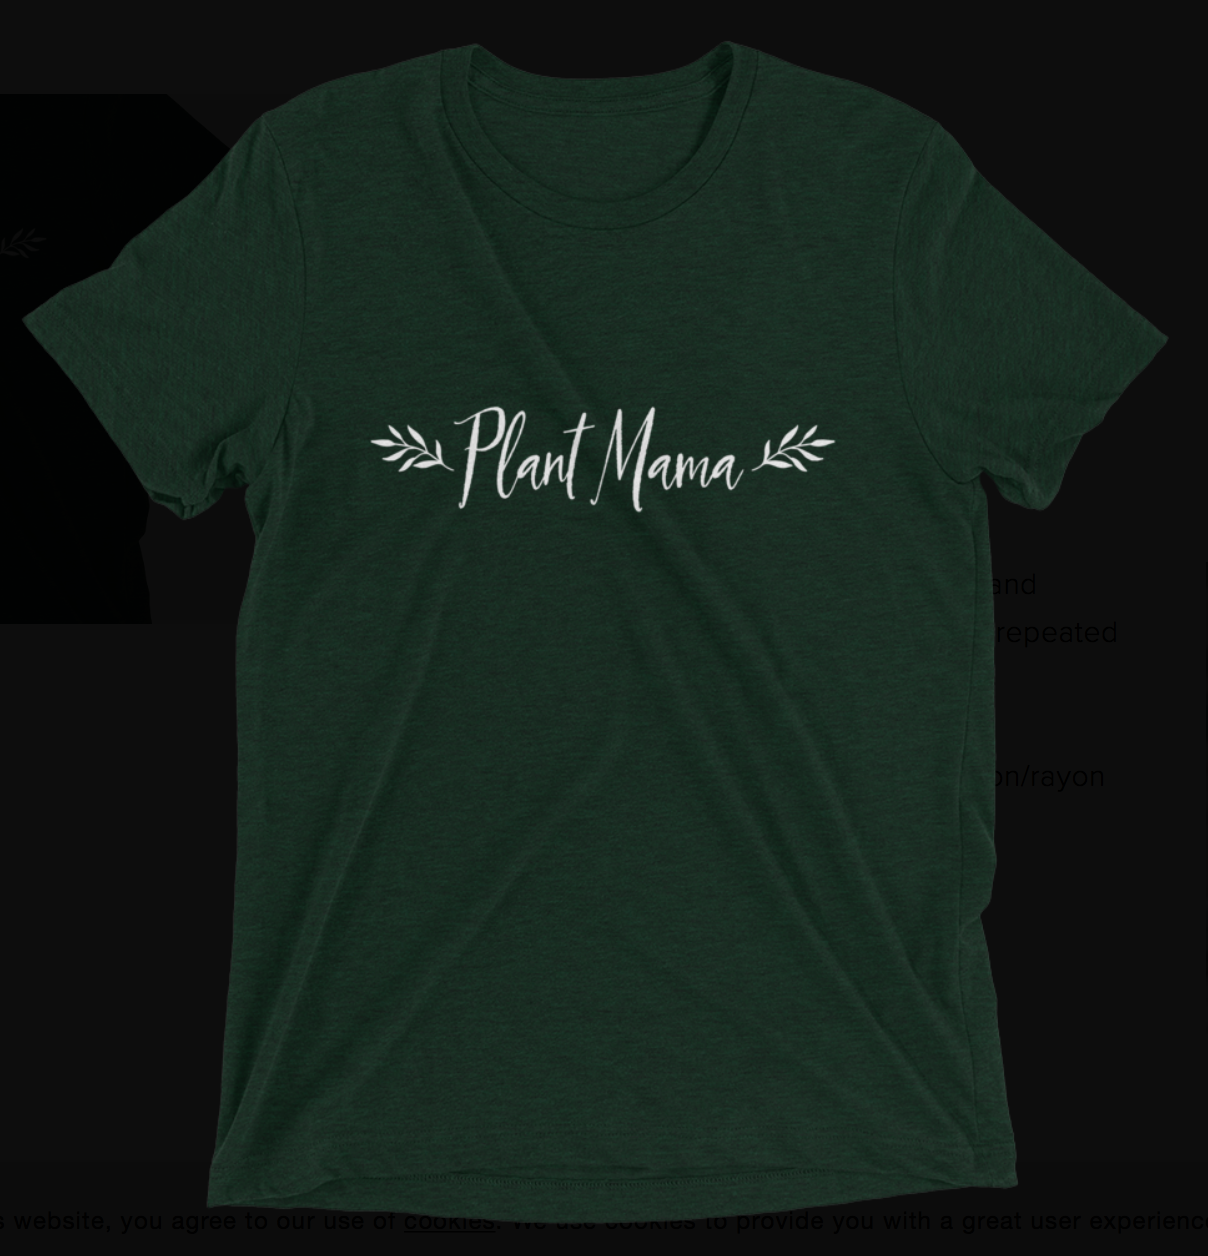
Let me know if you make this project!! So fun! Tag me on instagram @AZUREFARM and sign up for our newsletter ( on the home page) to get discounts and information on things happenings before others know !
PIN FOR LATER