Growing Chives From Seed Or Bulbs: A Complete Beginner's Guide
Chives are one of my favorite herbs! This versatile, easy-to-grow herb adds a burst of oniony goodness to so many dishes, and I also adore their beautiful, edible flowers!
Whether you're a seasoned gardener or just starting out, growing chives from seed is a straightforward process that yields delicious rewards.
In this comprehensive guide, I’ll share everything you need to know to successfully grow chives from seed, from planting to growing tips to harvesting, and delicious ways to use them!
Index:
Growing chives from seed (indoors and outdoors)

What are chives?
Chives (Allium schoenoprasum) are perennial herbs belonging to the onion family, including onions, garlic, and leeks.
Native to Europe, Asia, and North America, chives are widely cultivated for their flavorful and aromatic leaves with a delicate oniony flavor and a hint of garlic.
Two types of chives grown in home gardens
Common Chives
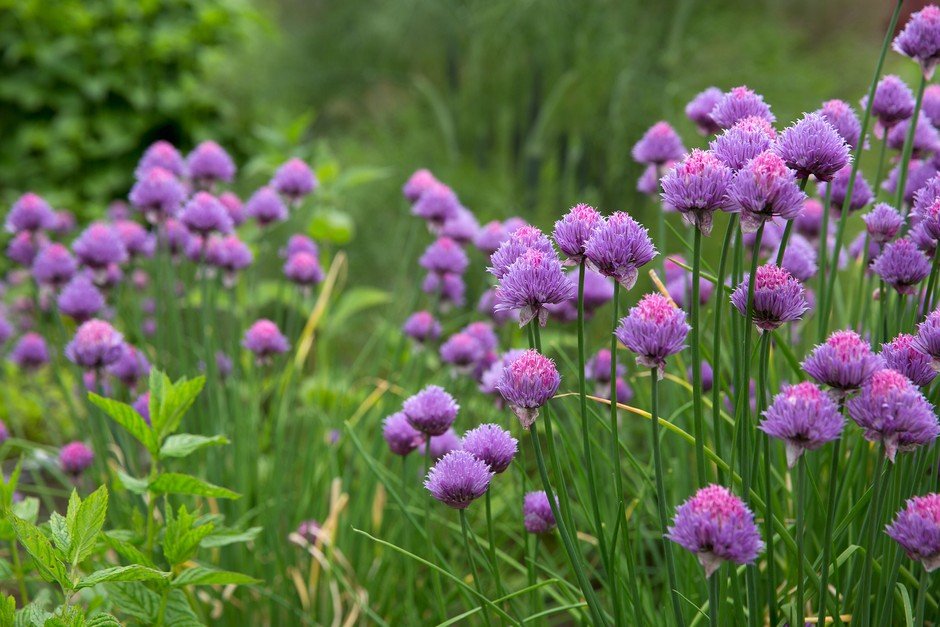
These form clumps of slender bulbs, yielding thin, tubular, blue-green leaves that grow to heights of 10-15 inches.
Their edible flowers, available in white, pink, purple, or red varieties, add flavor and visual appeal. They thrive in zones 3 to 9.
*For this blog, I will focus mostly on the common chives
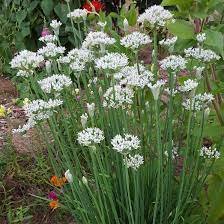
Garlic Chives
Garlic chives, or Chinese chives, resemble common chives but have flatter, greener leaves reaching about 20 inches. While their leaves offer a mild garlic flavor (with a more intense flavor in the bulbs), their white flowers are larger and less densely clustered than common chives. Garlic chives are less cold-hardy and are best suited for zones 4 to 9.
Why you should grow chives
Delicious Flavor: Both chive stalks and the flowers are edible, which add yummy flavor and make excellent garnishes for your meals.
Nutritional Punch: Rich in essential vitamins like A and C, chives also contain minerals such as calcium and iron, making them a valuable addition to any diet.
Easy To Grow: Aside from their nutritional benefits, chives are incredibly easy to grow, even for beginners.
Needs Little Space: Whether you have a sprawling garden or limited space for pots on your windowsill, chives can thrive and provide a fresh, aromatic touch to your dishes year-round.
Attract Pollinators: Chives attract pollinators because their blossoms bloom from mid-spring to early summer, just when summer crops begin to flourish. The scent and color of chives entice bees, butterflies, wasps, hornets, and other pollinators to your garden.
Chives Repel Pests and Are Good Companion Plants: Because chives are linked to onions, their pungent aroma is a natural pest deterrent. The strong odor repels carrot flies, aphids, beetles, and cabbage worms. They also aid in the growth of other plants around them (more on this down below!)
When to plant chives
Chives prefer cooler temperatures and thrive when planted in early spring or late summer.
Aim to plant them when the soil temperature reaches around 60°F (15°C) or around 6 to 8 weeks before your last spring frost date.
If you're planting in the fall, make sure to do so at least a few weeks before the first frost to give the plants time to establish themselves.
Chives are a perennial herb that grows back every year, growing from little bulbs beneath the soil. Over time, the bulbs split and develop new ones, resulting in a larger cluster of chives.
The plant's foliage dies back each fall, and the bulbs beneath the soil become dormant. When warmer weather approaches in spring, the bulbs begin to sprout new green, spiky leaves.
Growing chives from seed
Growing chives from seed is a very easy process. You can start them indoors or directly sow them outdoors (if the soil is ready to be worked).
growing chives from seed (indoors):
Fill the seed starting trays or small pots with the seed starting mix. Ensure that the containers have drainage holes to prevent waterlogging.
Using your finger or a small tool, make shallow indentations in the soil about 1/4 inch (6 mm) deep. Space the indentations approximately 1 inch (2.5 cm) apart.
Place one or two chive seeds in each indentation. Try to space the seeds evenly to prevent overcrowding. If you're using small pots, you can plant multiple seeds in each pot and thin them later if necessary.
Lightly cover the seeds with a thin layer of soil or seed starting mix. Using a spray bottle, water the soil gently to moisten it. Avoid overwatering, as excessive moisture can lead to damping off and other fungal diseases.
Place the seed trays or pots in a warm, sunny location. Chive seeds germinate best in temperatures between 60°F to 70°F (15°C to 21°C). If natural light is insufficient, you can supplement with a grow light to ensure adequate illumination.
It will take 10-20 days for chives seeds to germinate.
Keep an eye on the soil moisture levels and water the seedlings as needed to keep the soil consistently moist but not waterlogged. Avoid letting the soil dry out completely, as this can hinder germination.
Once the chive seedlings have developed a few sets of true leaves, thin them to one plant per cell or pot. Choose the strongest, healthiest seedling in each container and remove the weaker ones.
If you start the seeds in a communal tray, you can transplant the seedlings into larger pots or the garden once they have grown several inches tall and the risk of frost has passed in your area. Don’t forget to harden them off!
Applying a layer of organic mulch around the chive plants can help conserve moisture, suppress weeds, and regulate soil temperature. Use a mulch such as straw, shredded leaves, or compost, and apply it evenly around the plants, leaving a small gap around the stems to prevent rot.
As the chive seedlings grow, continue to provide them with adequate light, water, and nutrients. Fertilize with a diluted liquid fertilizer every few weeks to promote healthy growth.
Throughout the growing season, keep an eye on your chive plants and provide regular care as needed. Remove any weeds that compete with the chives for nutrients and water, and water the plants during dry spells to prevent drought stress.
READ MORE:
What Does It Mean To Harden Off Plants?
Direct sow chives (outdoors):
Choose a well-drained location with fertile soil. Loosen the soil to a depth of about 6-8 inches (15-20 cm) and remove any weeds or debris.
Sprinkle the chive seeds evenly over the prepared soil surface. Aim to space the seeds about 1/4 to 1/2 inch (6-12 mm) apart. You can sow the seeds in rows or broadcast them across the area.
Lightly cover the seeds with a thin layer of soil, about 1/4 inch (6 mm) deep. Gently pat down the soil to ensure good seed-to-soil contact. Water the area thoroughly to moisten the soil.
Keep the soil consistently moist but not waterlogged during the germination period, which typically takes 7-14 days. Water the area regularly, especially during dry spells, to support seed germination and early seedling growth.
Once the chive seedlings have developed a few sets of true leaves, thin them to provide adequate spacing. Space the seedlings about 6-8 inches (15-20 cm) apart to allow room for growth.
Applying a layer of organic mulch around the chive plants can help conserve moisture, suppress weeds, and regulate soil temperature. Use a mulch such as straw, shredded leaves, or compost, and apply it evenly around the plants, leaving a small gap around the stems to prevent rot.
As the chive seedlings grow, continue to provide them with adequate light, water, and nutrients. Fertilize with a diluted liquid fertilizer every few weeks to promote healthy growth.
Throughout the growing season, keep an eye on your chive plants and provide regular care as needed. Remove any weeds that compete with the chives for nutrients and water, and water the plants during dry spells to prevent drought stress.
READ MORE: Direct sowing in 10 easy steps
growing chives from bulbs or starts
Growing chives from bulbs or starts from another plant is also very easy and shortens the growing process, giving you yummy herbs earlier!
Here's a step-by-step guide on how to grow chives from bulbs:
Choose high-quality chive bulbs that are firm and free from mold or damage or a start that is bright green, full, and at least 3–5 inches (7.6–12.7 cm) in height.
Before planting, prepare the soil by loosening it to a depth of about 6-8 inches (15-20 cm) and incorporating organic matter such as compost or aged manure to improve soil fertility and drainage. Moisten the soil.
Plant chive bulbs in the prepared soil, spacing them about 6-8 inches (15-20 cm) apart. Dig a hole slightly larger than the bulb and place it in the hole with the pointed end facing upward. Cover the bulbs with soil and gently firm the soil around them.
After planting, water the bulbs thoroughly to settle the soil and provide moisture for root development. Keep the soil consistently moist but not waterlogged during the growing season, especially during hot, dry weather.
Chives are not heavy feeders, but you can fertilize them with a balanced fertilizer or compost tea in early spring to promote healthy growth. Avoid over-fertilizing, as this can lead to excessive foliage growth at the expense of flavor.
Applying a layer of organic mulch around the chive plants can help conserve moisture, suppress weeds, and regulate soil temperature. Use a mulch such as straw, shredded leaves, or compost, and apply it evenly around the plants, leaving a small gap around the stems to prevent rot.
Throughout the growing season, keep an eye on your chive plants and provide regular care as needed. Remove any weeds that compete with the chives for nutrients and water, and water the plants during dry spells to prevent drought stress.
Where to plant chives
Chives are adaptable plants that can grow in various environments.
They do best in well-drained soil that is light, loamy, and sandy. If your soil has a lot of clay or is very dense, mix in some sand to loosen it up. Chives prefer a pH between 6.0 and 7.0.
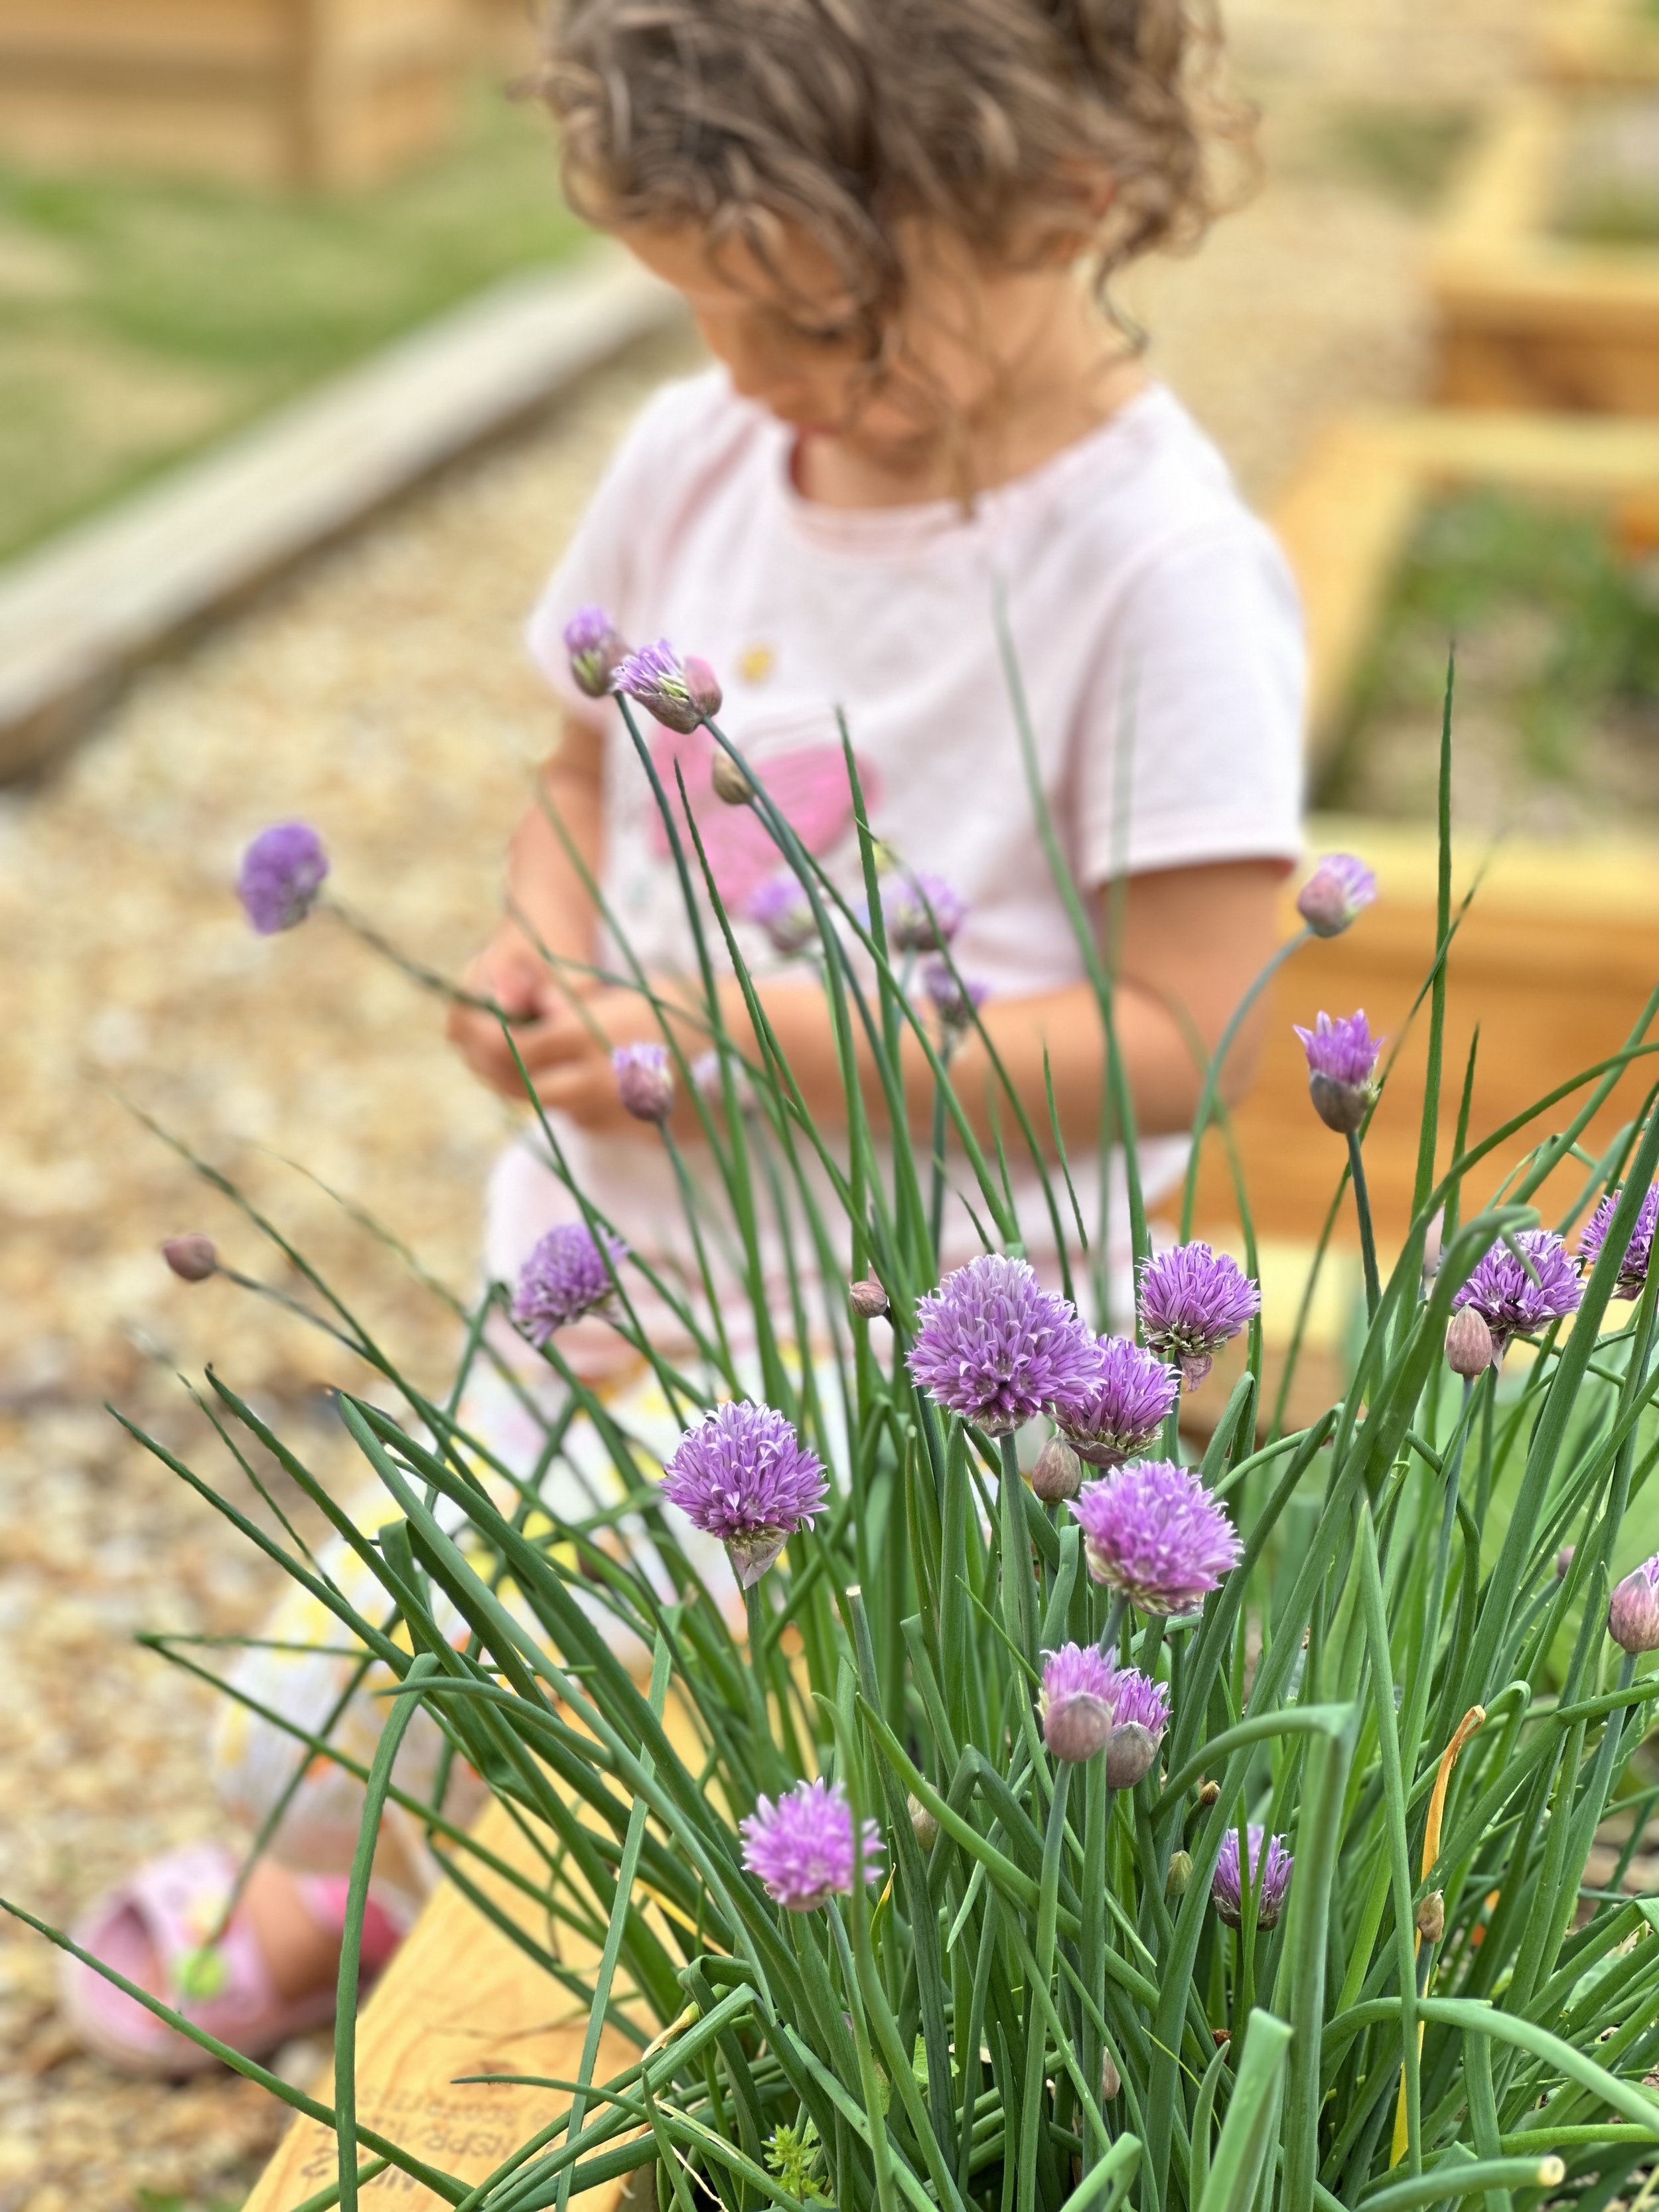
Whether you're planting them in a garden bed, raised beds, or containers, ensure they receive at least 6–8 hours of sunlight each day.
You can grow chives in a circular clump or place several plants in a row to add an attractive edging to your garden. Chives even make a beautiful container plant!
Do chives like sun or shade?
Chives thrive in full sun but can tolerate partial shade. However, they may produce fewer leaves and have a weaker flavor if grown in shaded areas. For optimal growth and flavor, provide them with plenty of sunlight.
How long do chives take to grow?
Chives are relatively fast-growing herbs.
From seed, they typically take about 80-90 days to reach maturity and produce usable leaves.
If you're starting with established plants, you can begin harvesting leaves within 30 days of planting.
can you grow chives indoors?
Yes! Chives are well-suited for indoor growing, making them accessible year-round, even in regions with harsh winters.
To grow chives indoors, choose a sunny windowsill or provide supplemental light using grow lights. Plant them in well-draining pots with quality potting mix, and water when the top inch of soil feels dry to the touch.
Maintain consistent moisture levels and fertilize lightly every 4-6 weeks during the growing season to promote healthy growth.

When and how to harvest chives
You can start harvesting chives once the plants have reached about 7-10 inches in height. This normally occurs around mid-summer, and will continue until the weather cools below freezing.
Harvest chives sparingly for the first year to let new plants become established. And don’t harvest the entire plant at once.
Use sharp scissors or kitchen shears to snip at the base, leaving at least 2 inches of growth to encourage regrowth.
Harvesting regularly will promote bushier growth and ensure a continuous supply of fresh chives.
Do chives grow back after cutting?
Yes, chives are perennial herbs that regrow after cutting. Regular harvesting stimulates new growth and keeps the plants healthy and productive throughout the growing season.
As long as you leave a few inches of growth intact, chives will continue to regrow, providing you with a consistent supply of fresh leaves.
Chive bulbs will also multiply over time. Dividing plants every three years will keep them healthy and prevent them from becoming overloaded. Established chive plants can be divided in either early spring or fall.
Dig up the clump, divide the bulbs into separate clusters, and replant. If dividing in the fall, consider transplanting a part into a container to grow indoors during the winter.
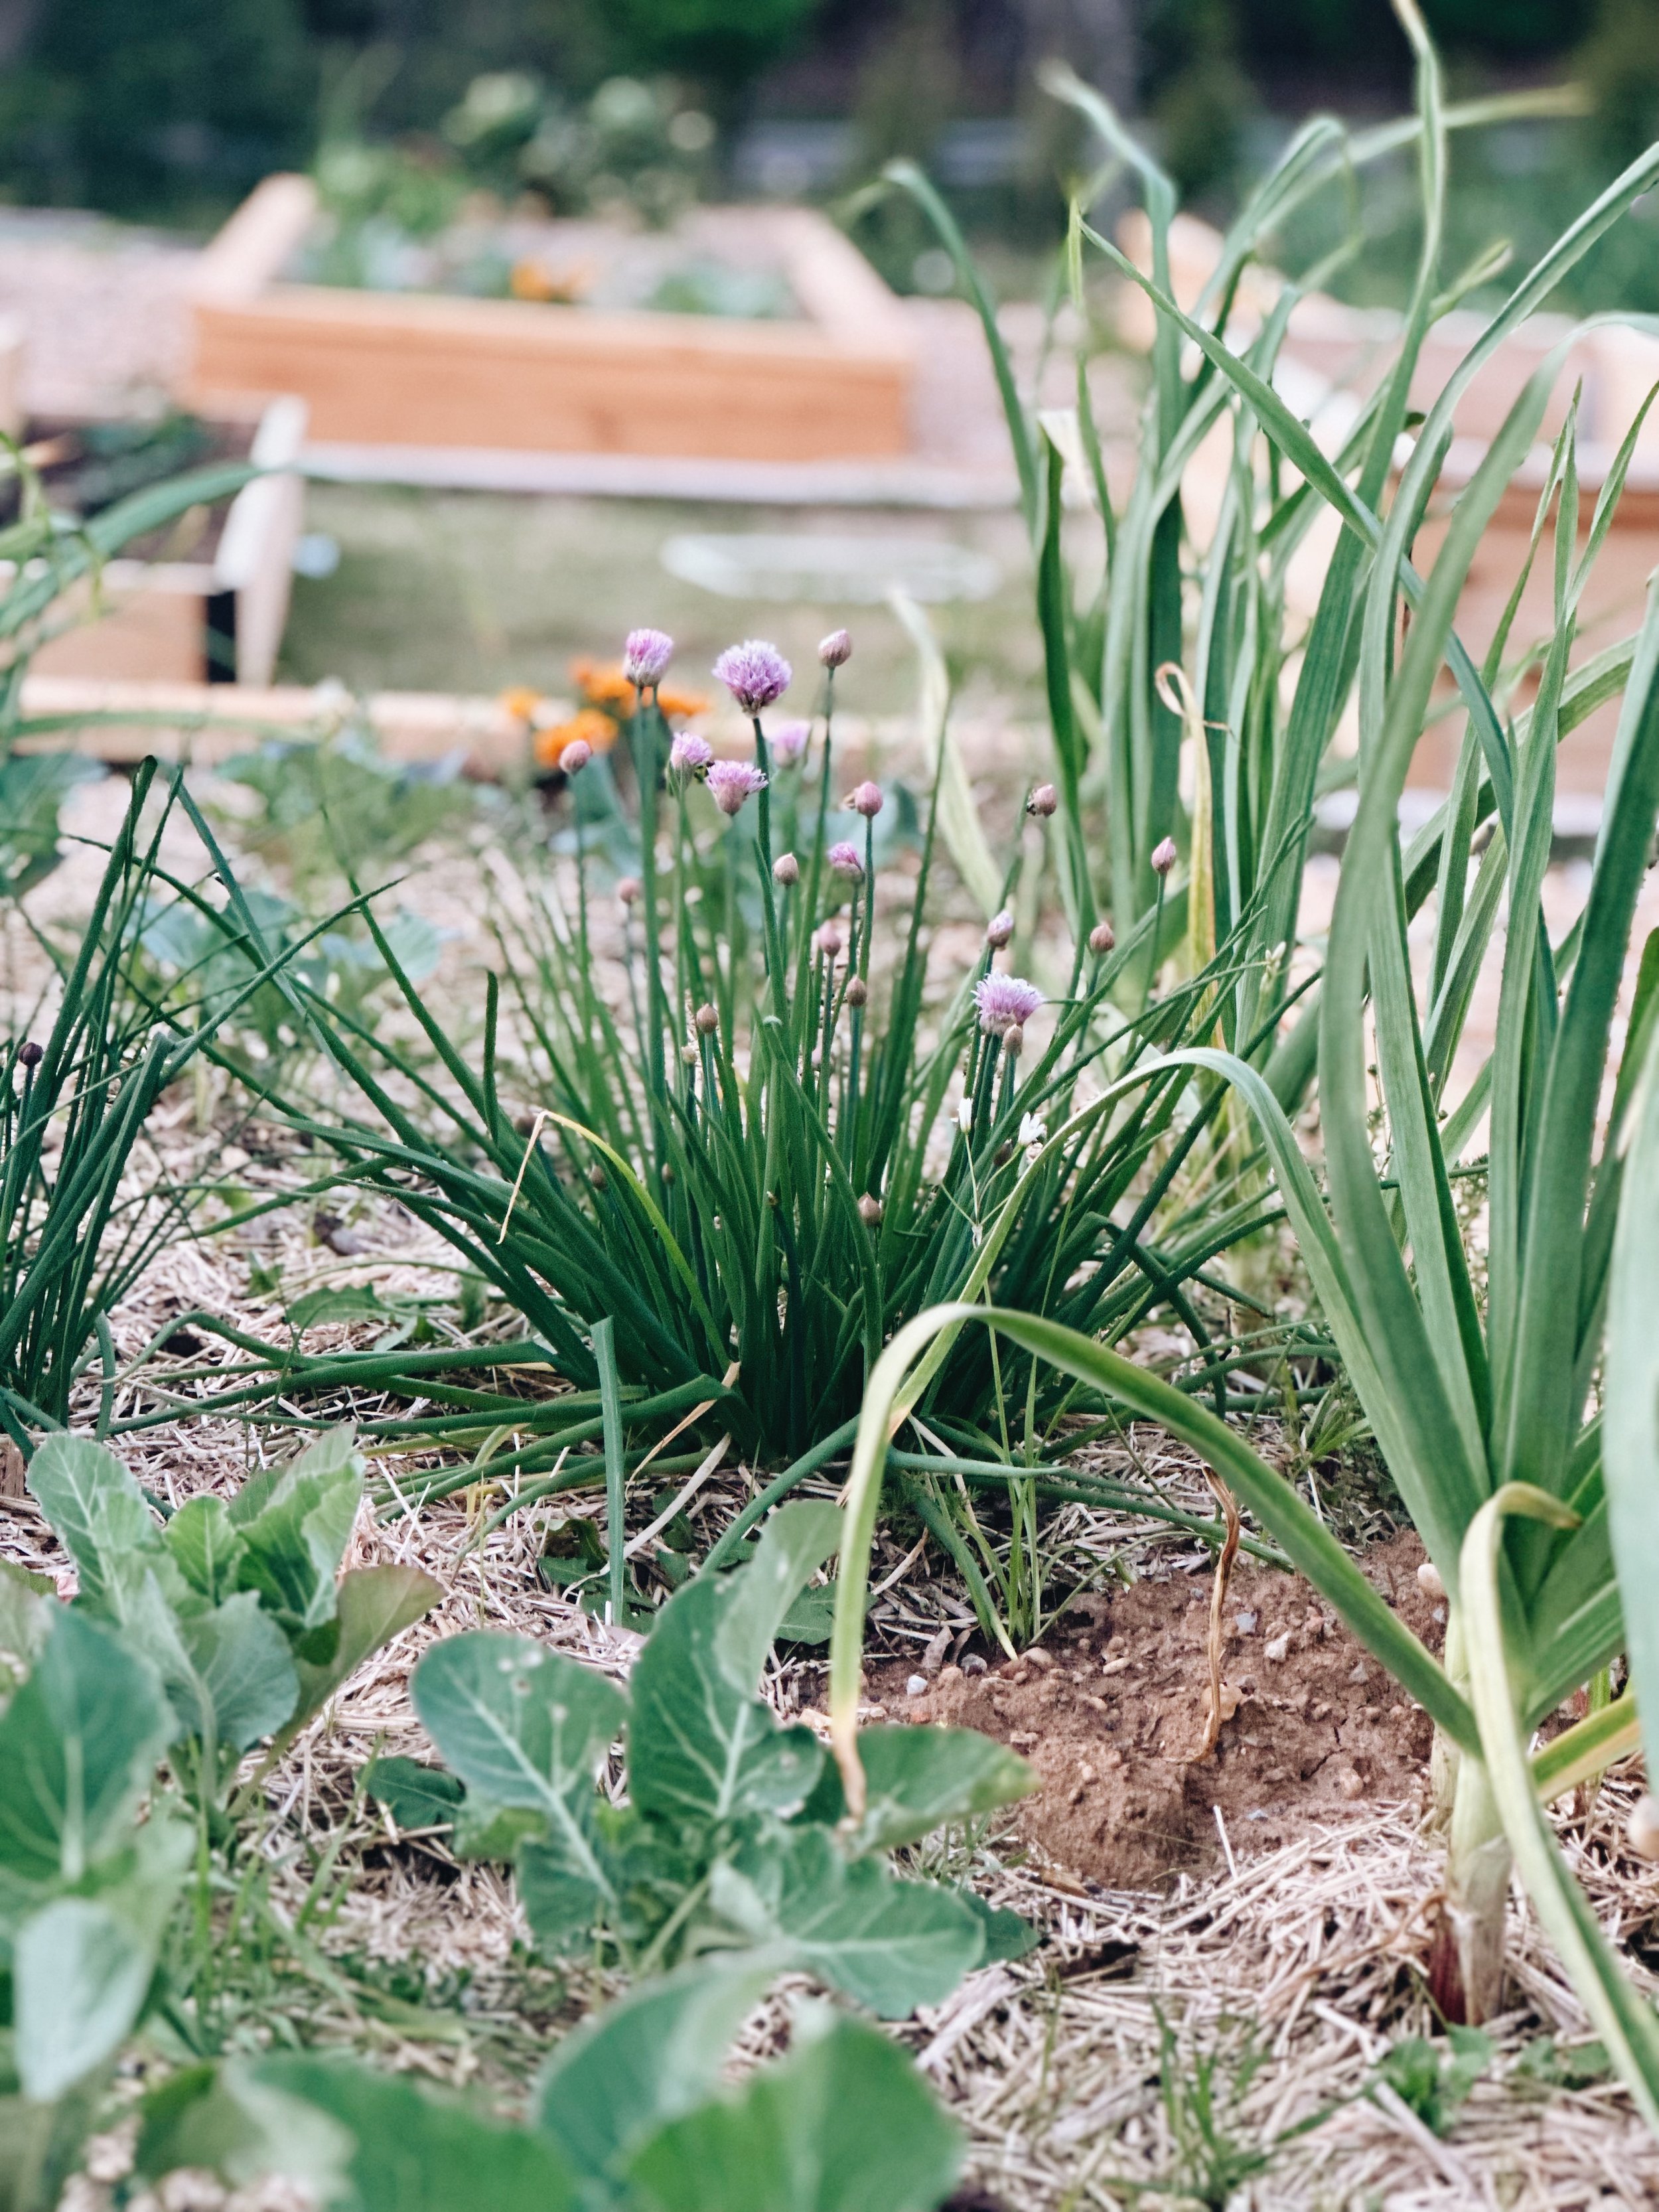
When do chives bloom?
Chives typically bloom in late spring to early summer, usually around May to June, depending on the climate and growing conditions.
The exact timing of blooming can vary slightly based on factors such as temperature, sunlight exposure, and the specific variety of chives.
You can expect clusters of small, star-shaped flowers in shades of pink, purple, or white. They are so beautiful!
These flowers not only add visual appeal to the garden but also attract pollinators like bees and butterflies.
Best of all? You can make so many yummy things with them!
Can you eat chives after they bloom?
While chive flowers are edible and add a decorative touch to salads and other dishes, allowing chives to flower can affect the flavor and texture of the leaves.
Flowering signals the end of the plant's growth cycle, and the leaves may become tougher and less flavorful.
To prolong the harvest season, it's best to snip off the flower stalks as soon as they appear.
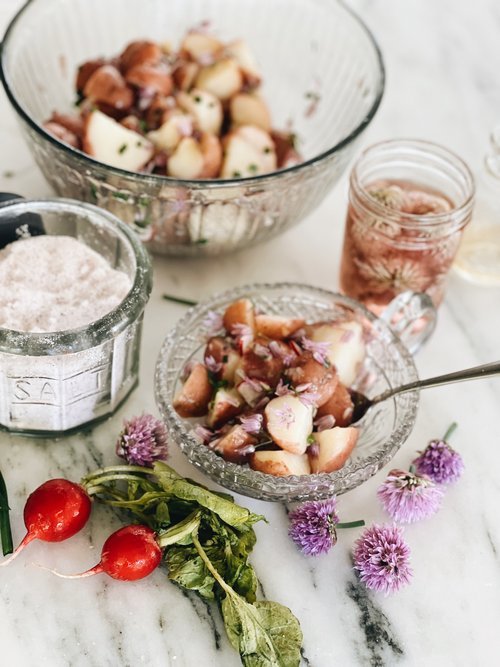
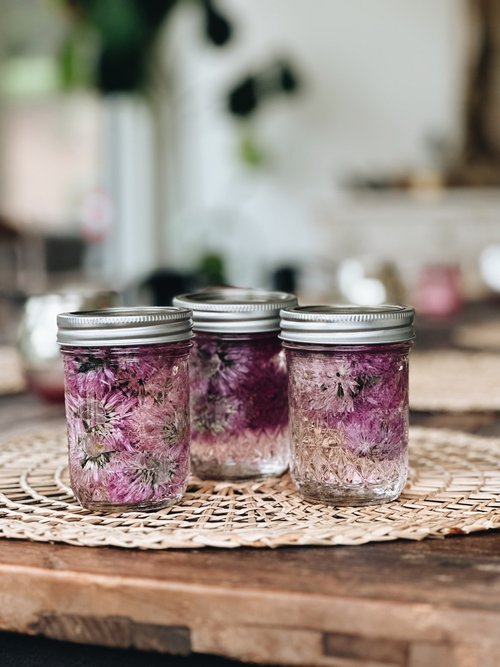
uses for chive blooms

Chive blossoms are my favorite! I think I prefer them even more than the chive stalks themselves!
I love using them to make all sorts of beautiful, yummy treats and things like these:
Chive Blossom Salt

Companion planting with chives
Companion planting with chives can offer several benefits, including pest control, pollination support, and enhanced growth for neighboring plants.
Plants that pair well with chives:
Tomatoes
Chives are believed to repel pests like aphids, which can be harmful to tomato plants. Additionally, chive flowers attract beneficial insects such as bees and hoverflies, which aid in tomato pollination.
Carrots
Chives can help deter carrot fly, a common pest of carrots, due to their strong scent. Planting chives near carrots can help mask the scent of the carrots and reduce the risk of infestation.
Lettuce
Chives provide shade and help retain moisture in the soil, which can benefit lettuce plants, especially during hot weather. Additionally, their pest-repelling properties may help protect lettuce from aphids and other pests.
Brassicas (such as cabbage, broccoli, and cauliflower)
Chives are believed to repel cabbage worms and other pests that commonly affect brassica crops. Interplanting chives with brassicas can help reduce pest damage and promote healthier growth.
Strawberries
Chives can help deter pests like slugs and aphids, which are common problems for strawberry plants. Their presence may also attract pollinators, leading to increased fruit production.
Herbs (such as parsley, basil, and mint)
Chives can act as a natural pest deterrent for neighboring herbs, helping to keep pests like aphids and whiteflies at bay. Additionally, their aromatic foliage can enhance the flavor of nearby herbs.
When companion planting with chives, consider their growth habits and space requirements to ensure that they do not overcrowd or overshadow neighboring plants.
Friend, now you’ve got all the basics you need to know on growing chives from seed and starts!
I know it is a lot of information, but just start, and you will learn as you grow! That is the best part of gardening, it is all about the journey.
I think you'll also find this blog very helpful:
Growing Herbs: All the essentials to know to get you started
Love, Annette xx

