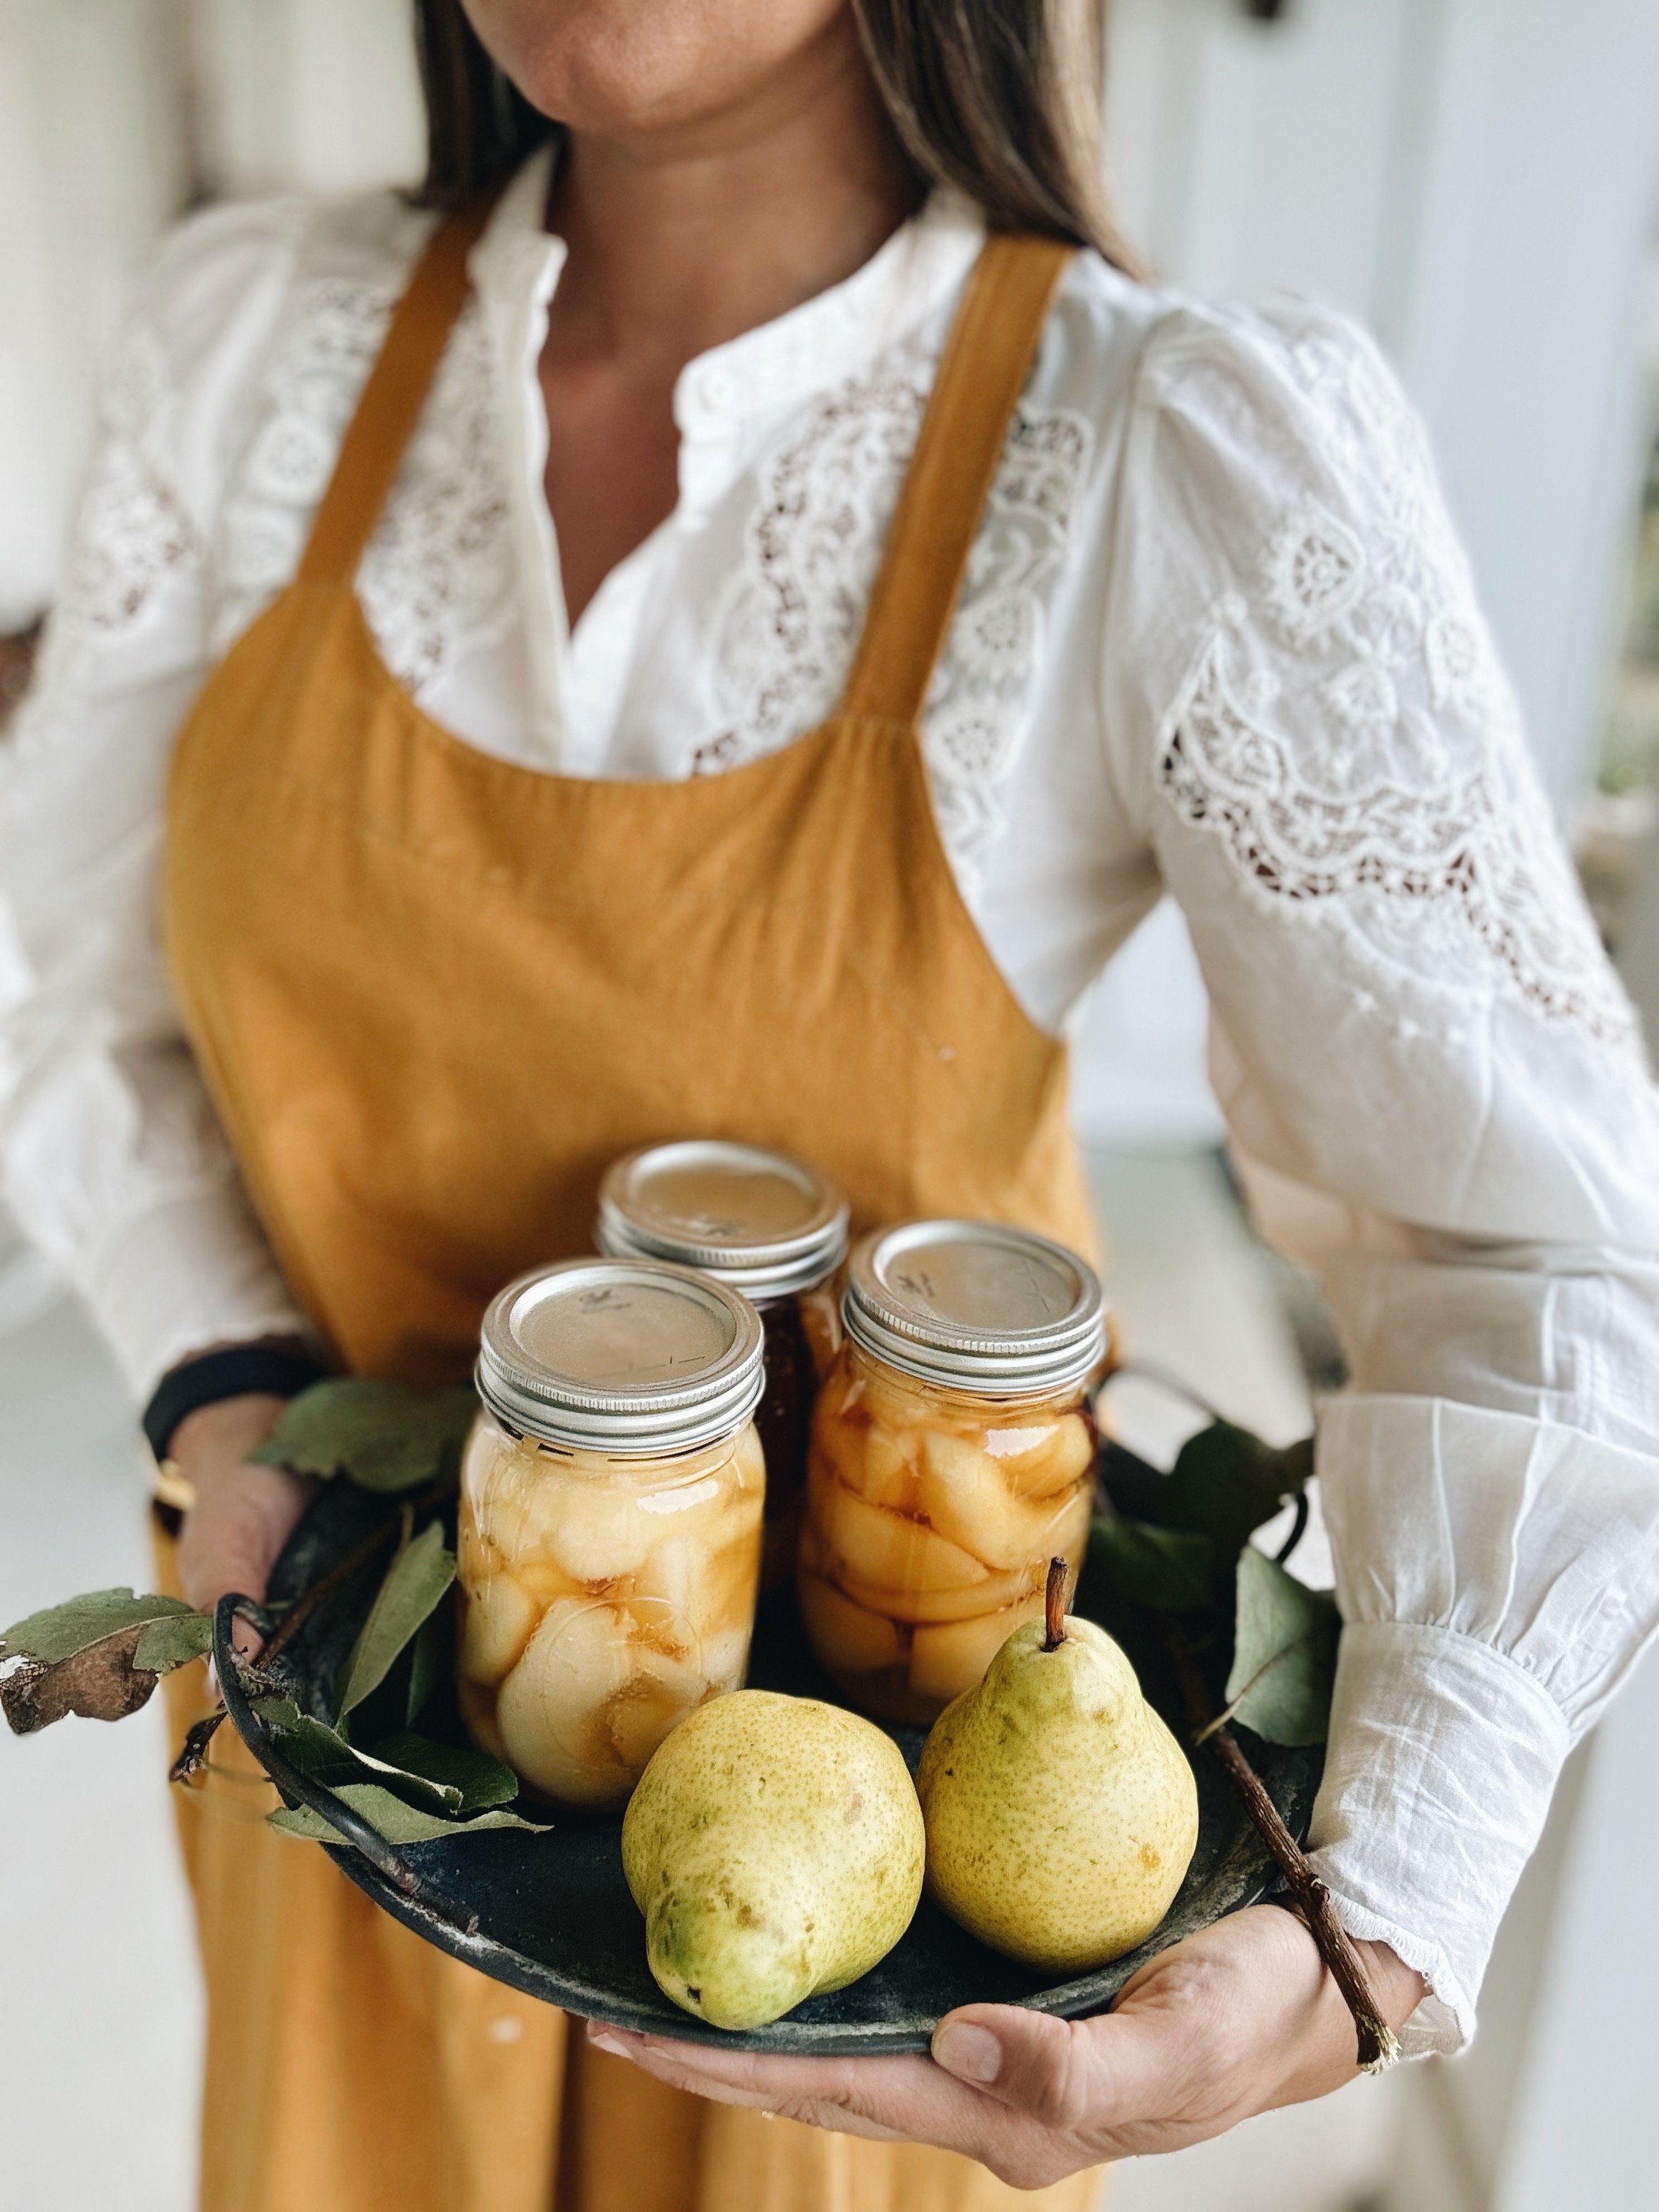
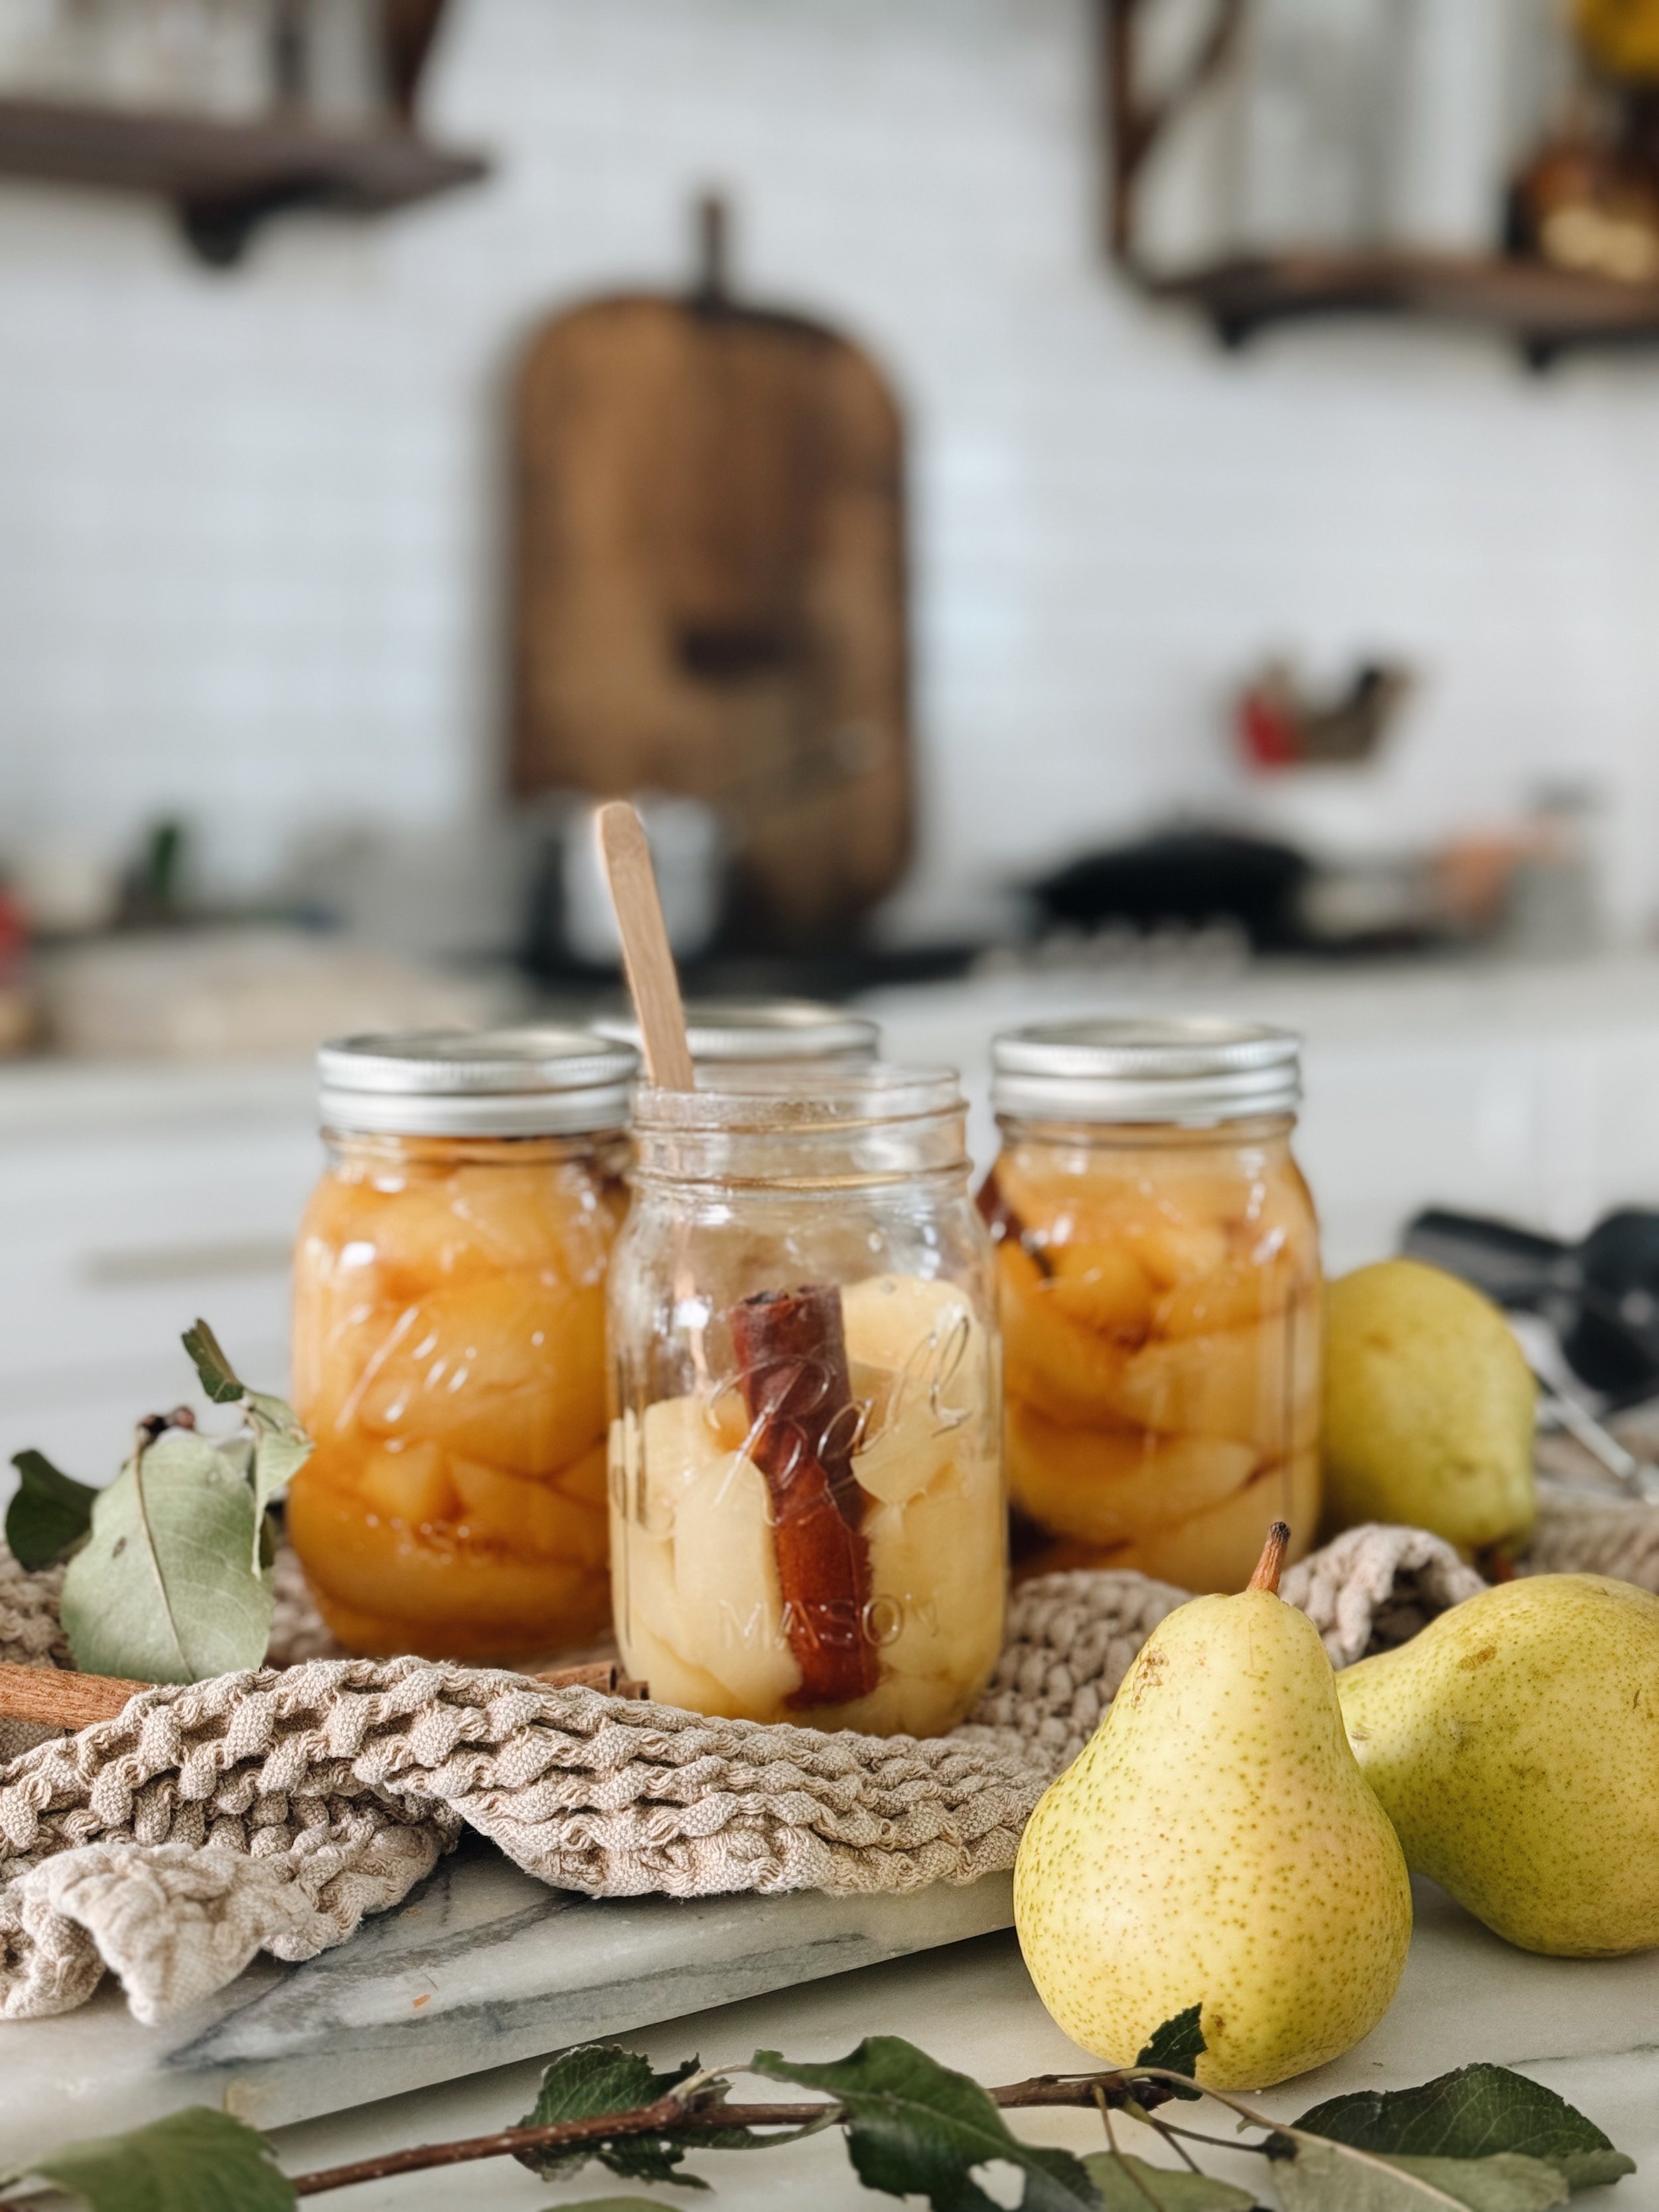
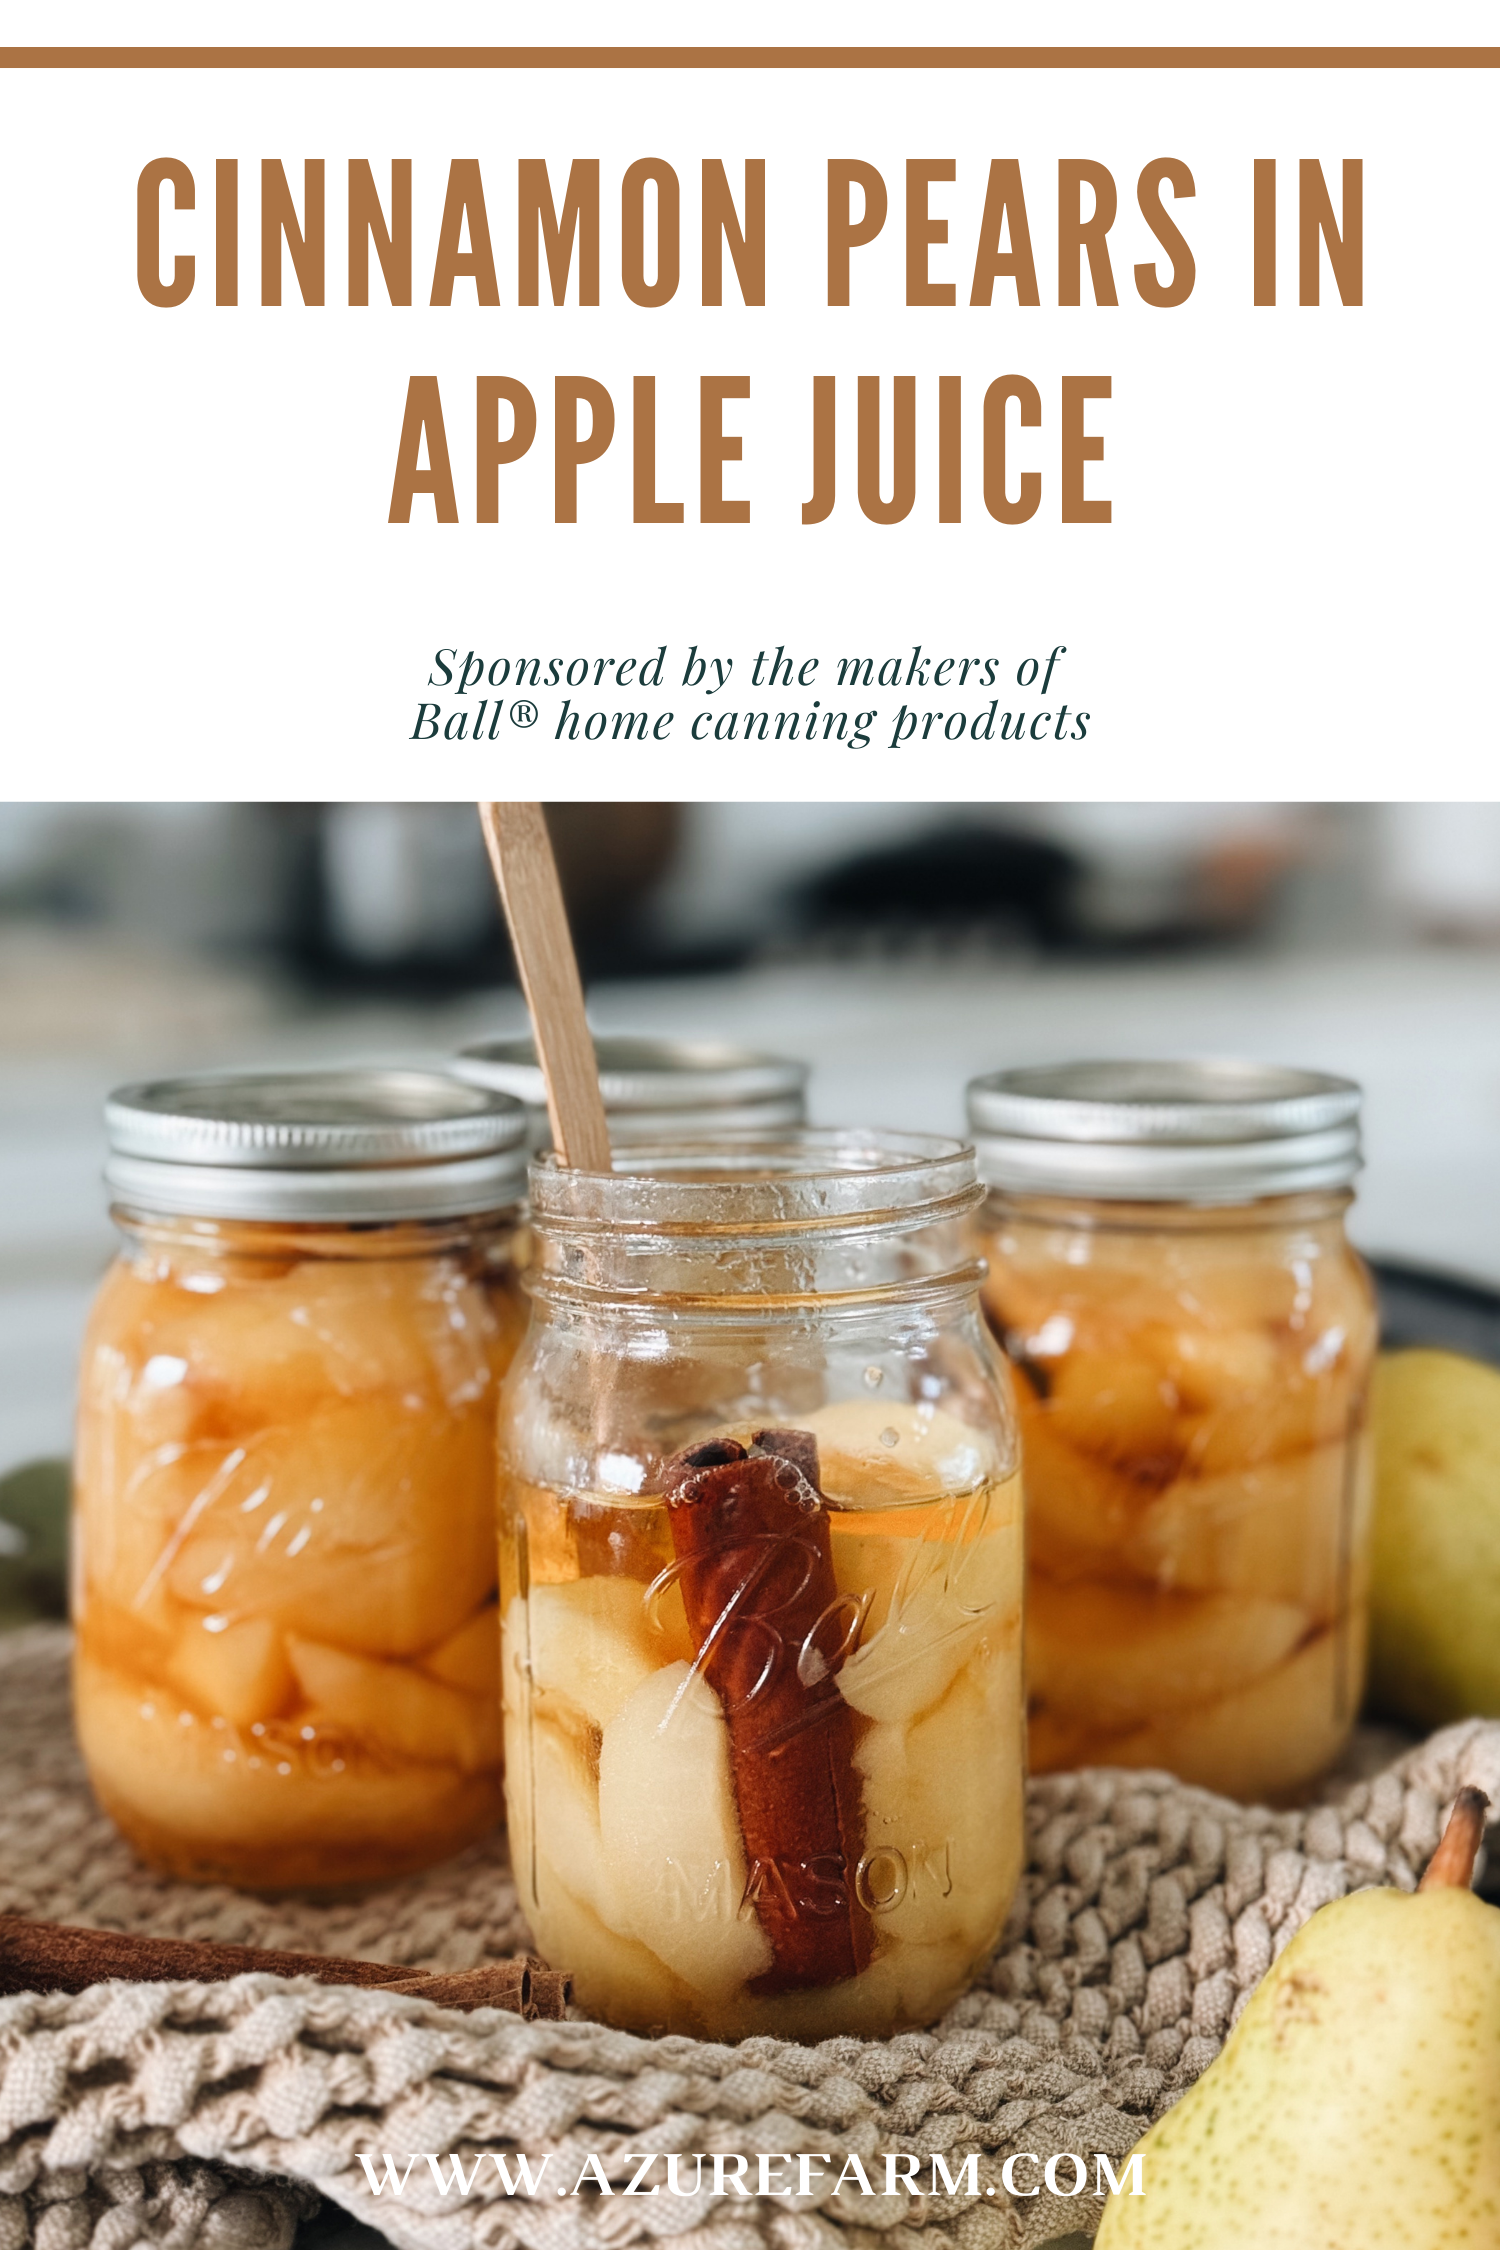
A Cozy Cinnamon Spiced Pear Canning Recipe Using Only Three Ingredients
Fall is a time for unwinding, slowing down, more sugar and spice, and all things cozy and nice!
As the crisp air of fall settles in and the holiday season approaches, I am excited to warm up my kitchen with the cozy flavors of cinnamon and fruit!
This simple yet delicious canning recipe—Cinnamon-Spiced Pears in Apple Juice—is the perfect treat for the colder months and holiday season!
With just three ingredients—pears, cinnamon sticks, and unsweetened apple juice—you can whip up a yummy treat that’s as healthy as it is tasty.
*This post is sponsored by the makers of Ball® home canning products
cinnamon-spiced pears
Pears are in peak season during the fall and winter, making them an ideal base for this flavorful dish. I love eating produce that is in season, as it always just tastes so much more flavorful and is brimming with freshness and nutritional goodness.
Whether enjoyed straight from the jar or dressed up with your favorite toppings, such as chopped pecans, maple syrup, whipped cream, or even ice cream, this dish brings out the warm, spiced essence of the holidays!
READ MORE:
Seasonal eating: The why and how, with monthly seasonal produce lists
Prep: 30 Minutes
Processing Time: 20 Minutes
Makes: About 1 pint for every 1 to 1-1/2 lb of pears
LINK TO BALL® Pint Jars HERE
INGREDIENTS
1 to 1-1/2 lb pears (3 to 5 medium) per pint
1 Cinnamon stick per pint
Unsweetened apple juice
directions
STEP 1
Fill your water bath canner with enough water to cover jars by 1-2 inches and bring to a simmer. Keep your jars in hot water (not boiling) until you are ready to add the food content. Wash lids and bands in warm, soapy water and set aside.
STEP 2
Wash and drain the pears. Peel, core, and cut them into halves. If desired, treat with fruit fresh or lemon juice to prevent browning.
STEP 3
Cook pears in water one layer at a time until hot throughout. Heat apple juice to a boil.
step 4
Pack hot pears, cavity side down, into hot jars, leaving 1/2-inch headspace. Place 1 cinnamon stick in each jar.
step 5
Ladle hot juice over pears, leaving 1/2-inch headspace. Remove any air bubbles with the bubble remover or a rubber spatula by sliding the tool down the side of the jar and then pulling it inwards.
Rotate and repeat around the jar as needed until all bubbles are removed. Repeat this two to three times.
Fill one jar at a time with the food content. Do not assembly line fill.
step 6
Wipe the rim and threads using a damp cloth to remove any food residue. Place the lid on and screw the band on until it is fingertip-tight.
Using your jar lifter, place the jar upright into simmering water and onto the rack. Your jars should be covered with 1-2 inches of water; if not, add more water.
Repeat steps 5-6 for each jar one at a time until all your filled jars have been placed into the canner.
STEP 7
Turn the heat up, and wait until you hear or see the water vigorously boiling (rolling boil). The processing time of a recipe only starts when the water has reached boiling point.
Start your timer and process the jars for 20 minutes, adjusting for altitude.
STEP 8
When the processing time is complete, turn off your burner. Remove the pot's lid away from you (be careful of the steam!), and wait 5 minutes before taking your jars out. This helps for a better vacuum seal.
STEP 9
Carefully remove the jars, one at a time, with the jar lifter. Keep them upright, and place your jars on a towel or wood cutting board. Never place them directly onto a cold surface or countertop to prevent cracking due to thermal shock.
Leave the jars untouched for 12-24 hours. Do not tamper with the lids or bands or wipe away water ;-)
After 12-24 hours, check if the lids have been sealed. Press the center - a properly sealed jar lid will not spring up when you press down in the center. Remove the band and use a finger to press down on the middle of the lid. If the lid springs up when you lift your finger, the jar must be reprocessed before you can store it safely.
recipe notes and questions
The best pears for home canning
For canning whole pears, you'll want varieties and slightly underripe pears that hold their shape well during the canning process. Bartlett, Bosc, and Anjou pears are all good varieties that are firm, sweet, and juicy.
Can I use grounded cinnamon?
You may use ground cinnamon, it might just could the liquid a bit and won’t be as pretty
READ MORE:
Canning vegetables and fruits - The essentials you need to know
canning course
Want to learn all there is to know about how to can food safely and become a canning expert?
Then you might want to get my CANNING COURSE in partnership with Ball® home canning!
You will learn everything you need to know about canning food effectively and safely at home, overcoming any fears or doubts you may have. All with 25 interactive videos and yummy beginner recipes!
print this recipe
Cinnamon-Spiced Pears
Prep: 30 Minutes
Processing Time: 20 Minutes
Makes: About 1 pint for every 1 to 1-1/2 lb of pears
INGREDIENTS:
1 to 1-1/2 lb pears (3 to 5 medium) per pint
1 Cinnamon stick per pint
Unsweetened apple juice
DIRECTIONS:
STEP 1
Fill your water bath canner with enough water to cover jars by 1-2 inches and bring to a simmer. Keep your jars in hot water (not boiling) until you are ready to add the food content. Wash lids and bands in warm, soapy water and set aside.
STEP 2
Wash and drain the pears. Peel, core, and cut them into halves. If desired, treat with fresh fruit or lemon juice to prevent browning.
STEP 3
Cook pears in water one layer at a time until hot throughout. Heat apple juice to a boil.
STEP 4
Pack hot pears, cavity side down, into hot jars, leaving 1/2-inch headspace. Place 1 cinnamon stick in each jar.
STEP 5
Ladle hot juice over pears, leaving 1/2-inch headspace. Remove any air bubbles with the bubble remover or a rubber spatula by sliding the tool down the side of the jar and then pulling it inwards. Rotate and repeat around the jar as needed until all bubbles are removed. Repeat this two to three times.
Fill one jar at a time with the food content. Do not assembly line fill.
STEP 6
Wipe the rim and threads using a damp cloth to remove any food residue. Place the lid on and screw the band on until it is fingertip-tight.
Using your jar lifter, place the jar upright into simmering water and onto the rack. Your jars should be covered with 1-2 inches of water; if not, add more water.
Repeat steps 5-6 for each jar one at a time until all your filled jars have been placed into the canner.
STEP 7
Turn the heat up, and wait until you hear or see the water vigorously boiling (rolling boil). The processing time of a recipe only starts when the water has reached boiling point. Start your timer and process the jars for 20 minutes, adjusting for altitude.
STEP 8
When the processing time is complete, turn off your burner. Remove the pot's lid away from you (be careful of the steam!), and wait 5 minutes before taking your jars out. This helps for a better vacuum seal.
STEP 9
Carefully remove the jars, one at a time, with the jar lifter. Keep them upright, and place your jars on a towel or wood cutting board. Never place them directly onto a cold surface or countertop to prevent cracking due to thermal shock.
Leave the jars untouched for 12-24 hours. Do not tamper with the lids or bands or wipe away water ;-)
This is a very easy canning recipe, perfect if you are a beginner home canner! I highly recommend you check out my canning course so you can keep making and mastering delicious recipes like this one!
I hope you love this recipe, friend, and may it bring you all the cozy feels this fall and winter!
Have a look at these recipes too for the upcoming holidays:
Love, Annette xx
PIN FOR LATER
Disclosure: This is a sponsored post that is part of an ongoing partnership with the Fresh Preserving Division of Newell Brands. They have provided jars, equipment and monetary compensation. All thoughts and opinions expressed are my own.


